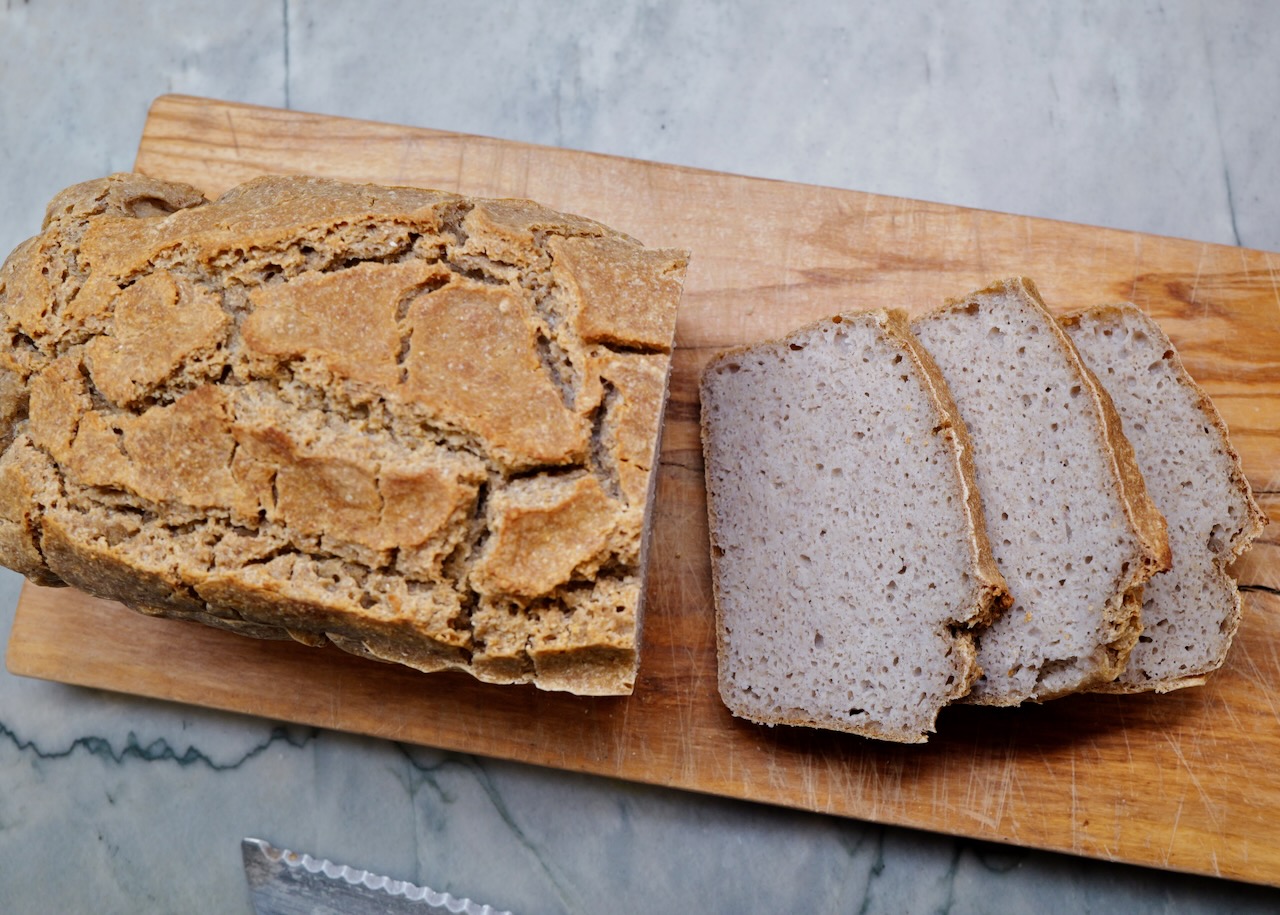
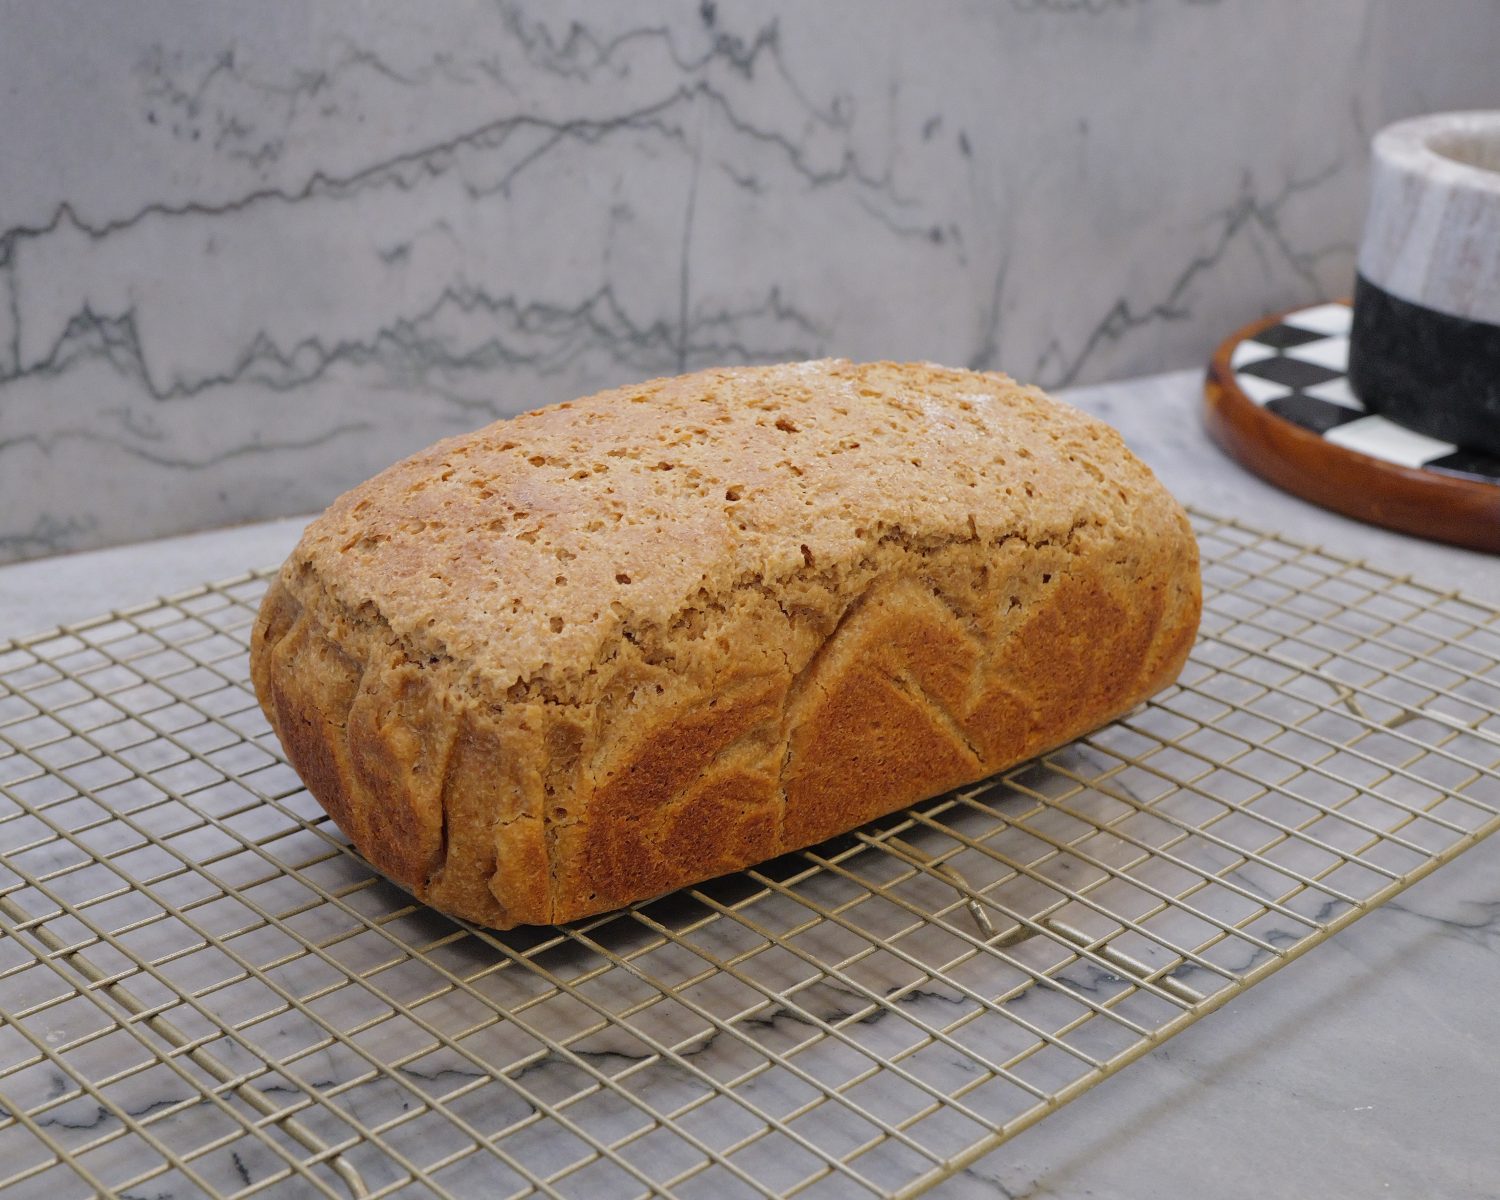
Learn how to bake my fermented buckwheat bread the easy way — this 1-ingredient gluten-free sourdough bread rises naturally without a starter! Don’t stress, because this buckwheat bread recipe is for beginners looking to get into making homemade bread! With a wholesome, nutty flavor and gut-friendly fermentation, this nutrient dense bread is nourishing, simple, and delicious.
Learn how to bake my fermented buckwheat bread the easy way — this 1-ingredient gluten-free sourdough bread rises naturally without a starter! Don’t stress, because this buckwheat bread recipe is for beginners looking to get into making homemade bread! With a wholesome, nutty flavor and gut-friendly fermentation, this nutrient dense bread is nourishing, simple, and delicious.
Ingredients
Yield: 12 slices
Please login to view the ingredients for this recipe
Directions
Step 1
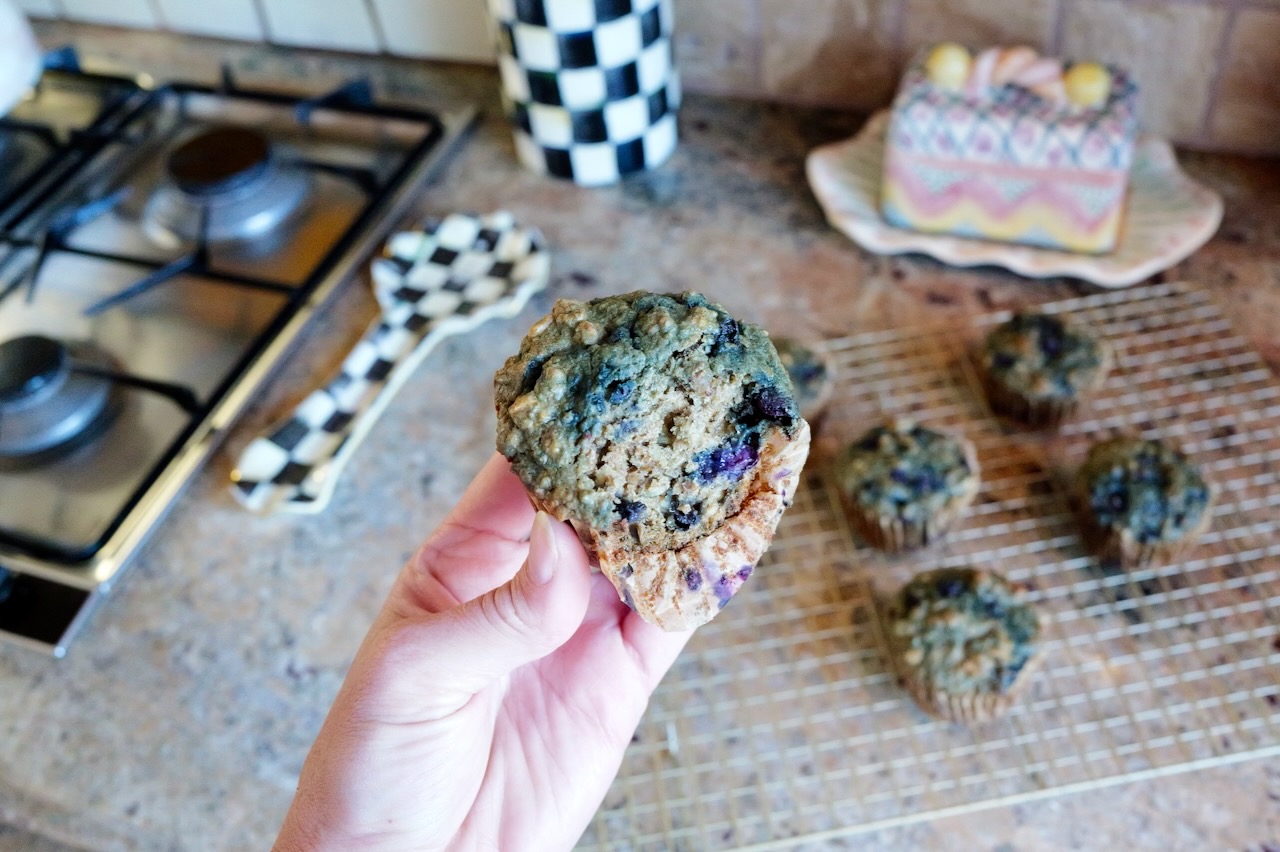
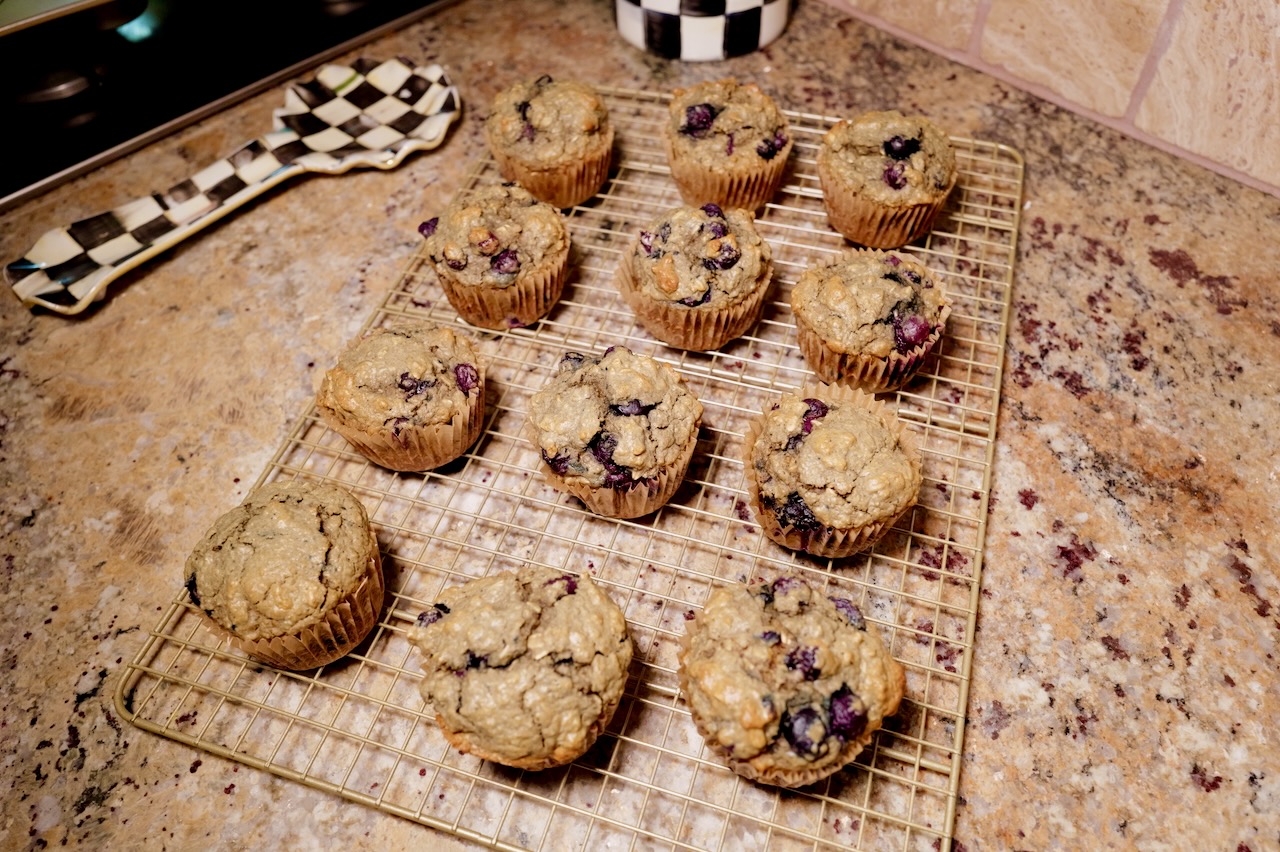
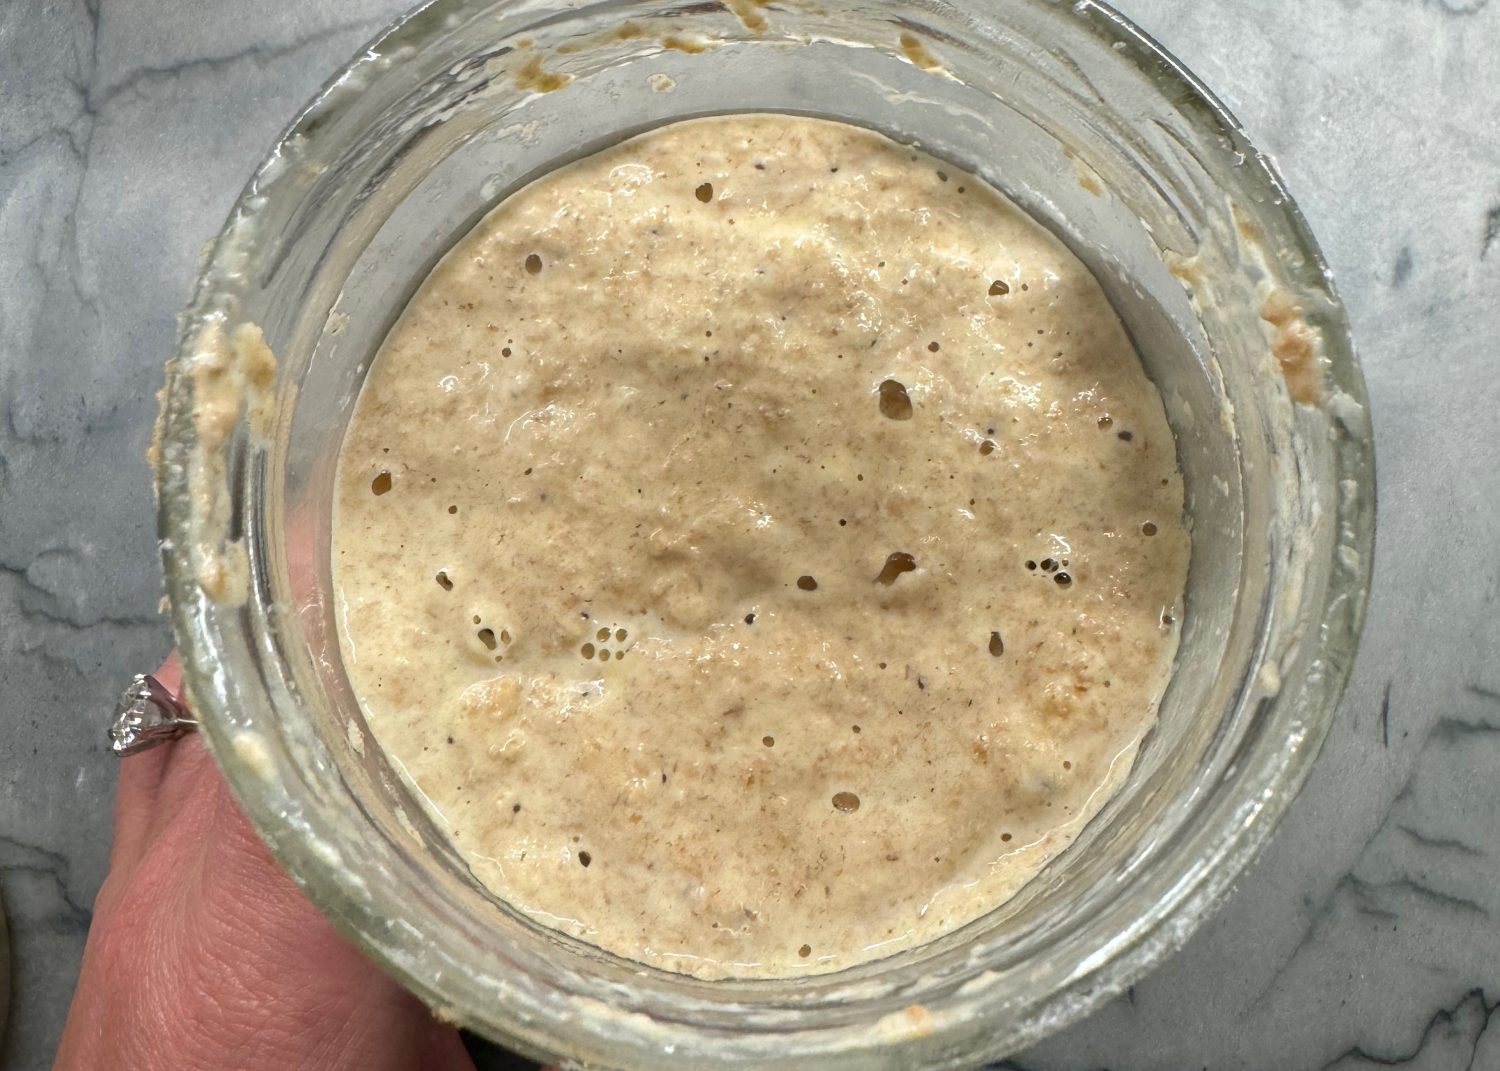
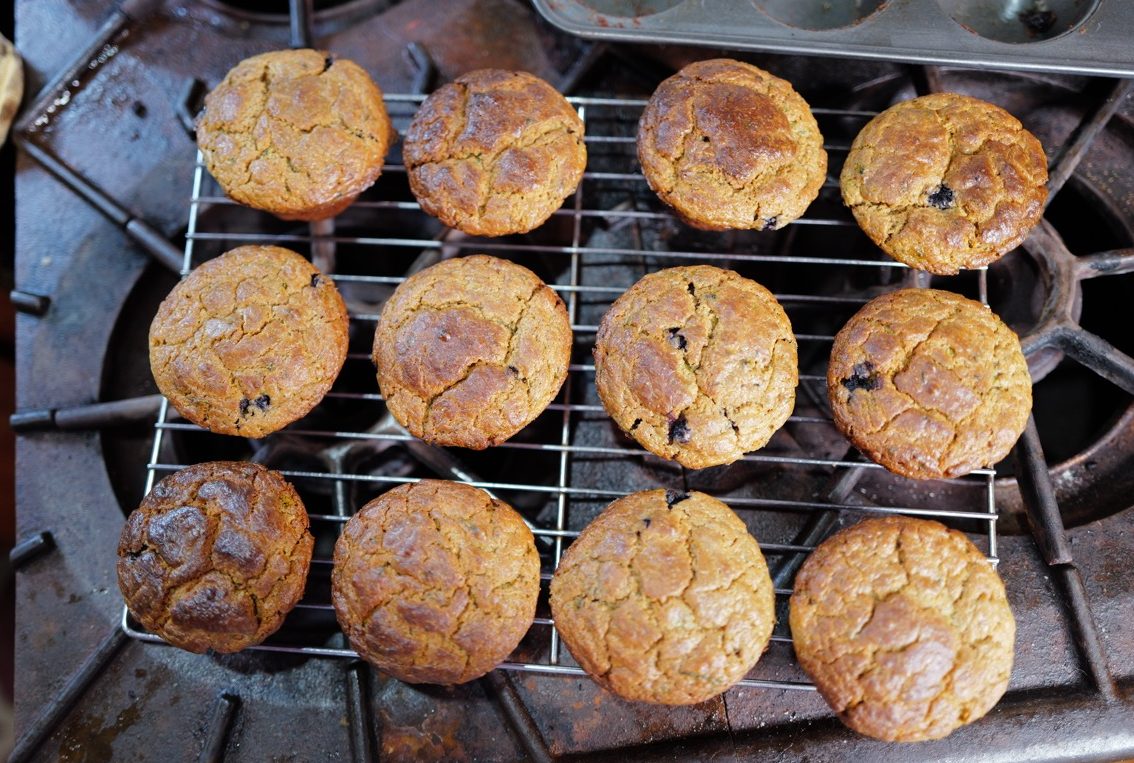
Combine buckwheat, water and whey or yogurt in a medium-large bowl and let soak for a minimum of 5 hours, overnight or up to 1 ½ days. Note: The longer you let the groats soak, the more bubbly and “active” the soaking liquid will become. This bubbly soaking liquid can be used for other recipes like these sprouted oat muffins or these fermented oat muffins. A longer soak will also shorten the final fermentation time.
Blend strained buckwheat groats with 1 ¼ cups warm water and salt in a high speed blender until combined. Batter should be smooth. No need to over blend. Then, pour the batter back into the bowl you had used to soak the groats. Cover the bowl with compostable cling wrap or a towel and let sit in on the counter overnight or up to 24 hours. Note: Fermentation time may vary depending on warmth in your kitchen or the amount of time the initial groats soaked. For a warmer environment (kickstarts ferment), place bowl to ferment in the oven with the oven light turned on. Batter is ready when it has risen, looks puffy and has bubbles. It will have a very fermented smell, don’t worry about this!
Step 4
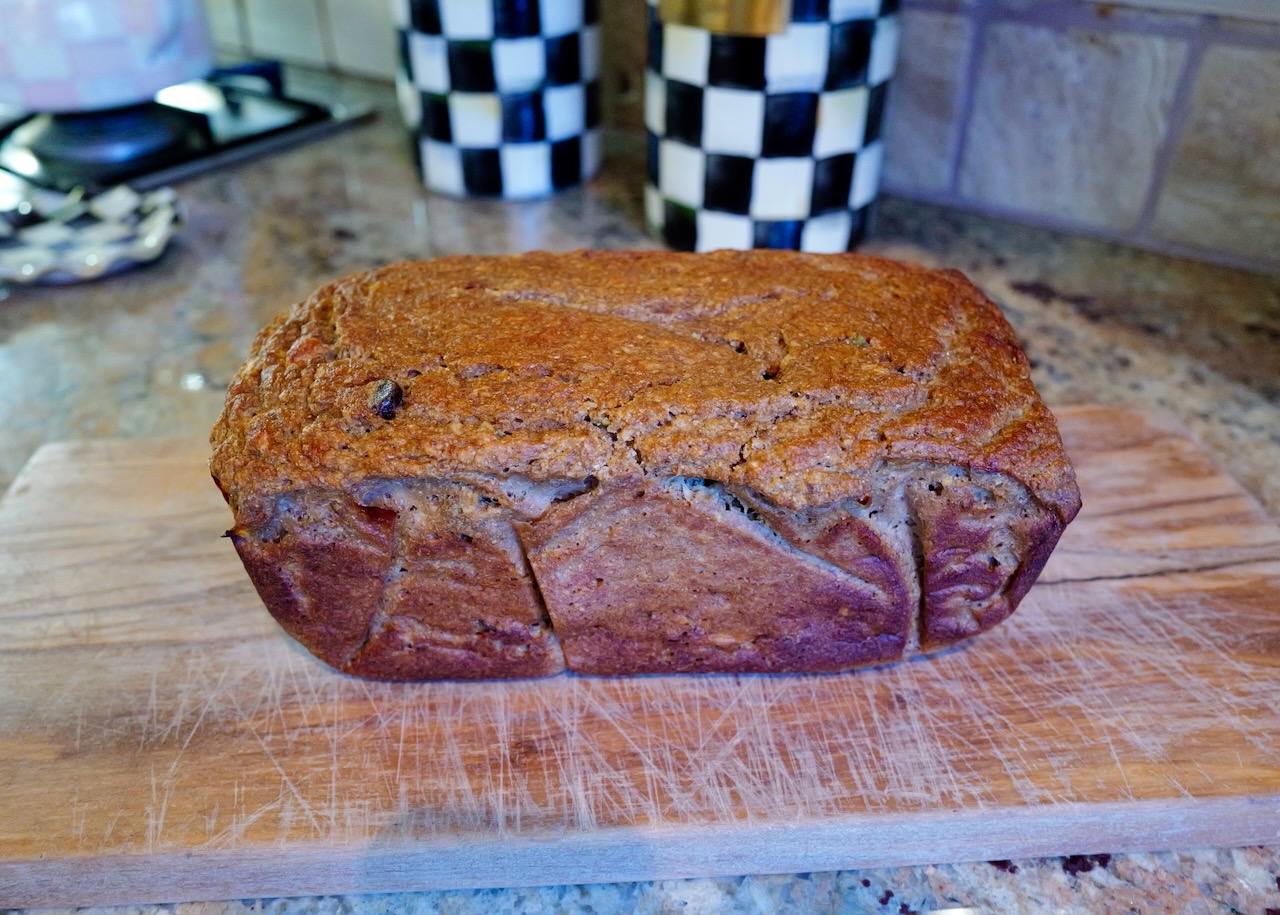
Preheat oven to 375℉. When batter is puffed up and fermented, stir lightly in circles with a soft spatula and listen to the crackling sounds. The ferment may have a strong smell, but don’t worry, this is a good thing! Feel free to add in a handful or two of pumpkin and/or sunflower seeds. Pour batter into a bread pan lined with unbleached parchment paper or butter a bread pan liberally. Bake for 80-85 minutes. Bread should be golden and crispy on top.
Step 5
Remove bread from oven. Let cool in the bread pan for a few minutes, then remove bread by pulling the parchment paper with the bread up and out. Transfer to a rack. When it’s cool enough to touch, remove the paper and allow to cool completely before cutting bread. It’s very important to allow bread to fully cool, as bread will continue to cook and set while it cools.
Notes
Buckwheat is naturally gluten free and is a great way to get started on a bread-making journey as no sourdough starter is required. Make sure that you use raw buckwheat groats, as opposed to toasted buckwheat or kashi, or it will not ferment!


Notes
Read our recipe notes below (4)