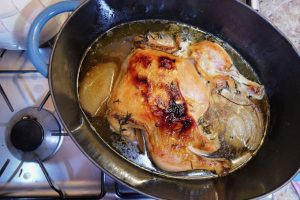
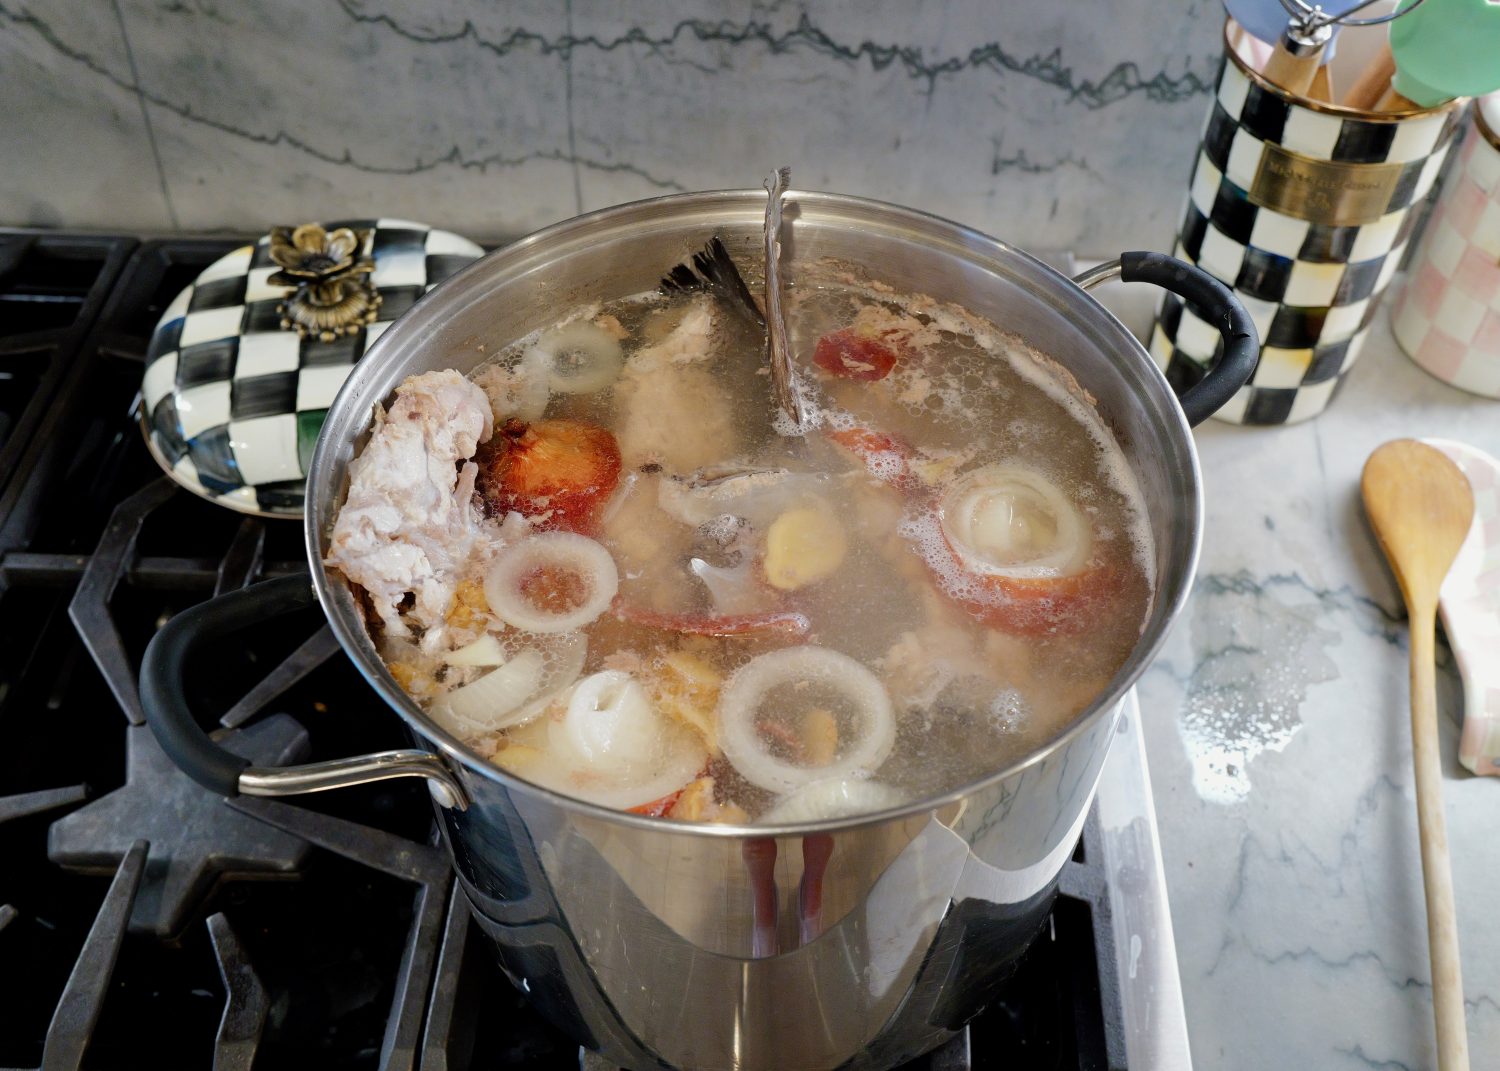
Step 1
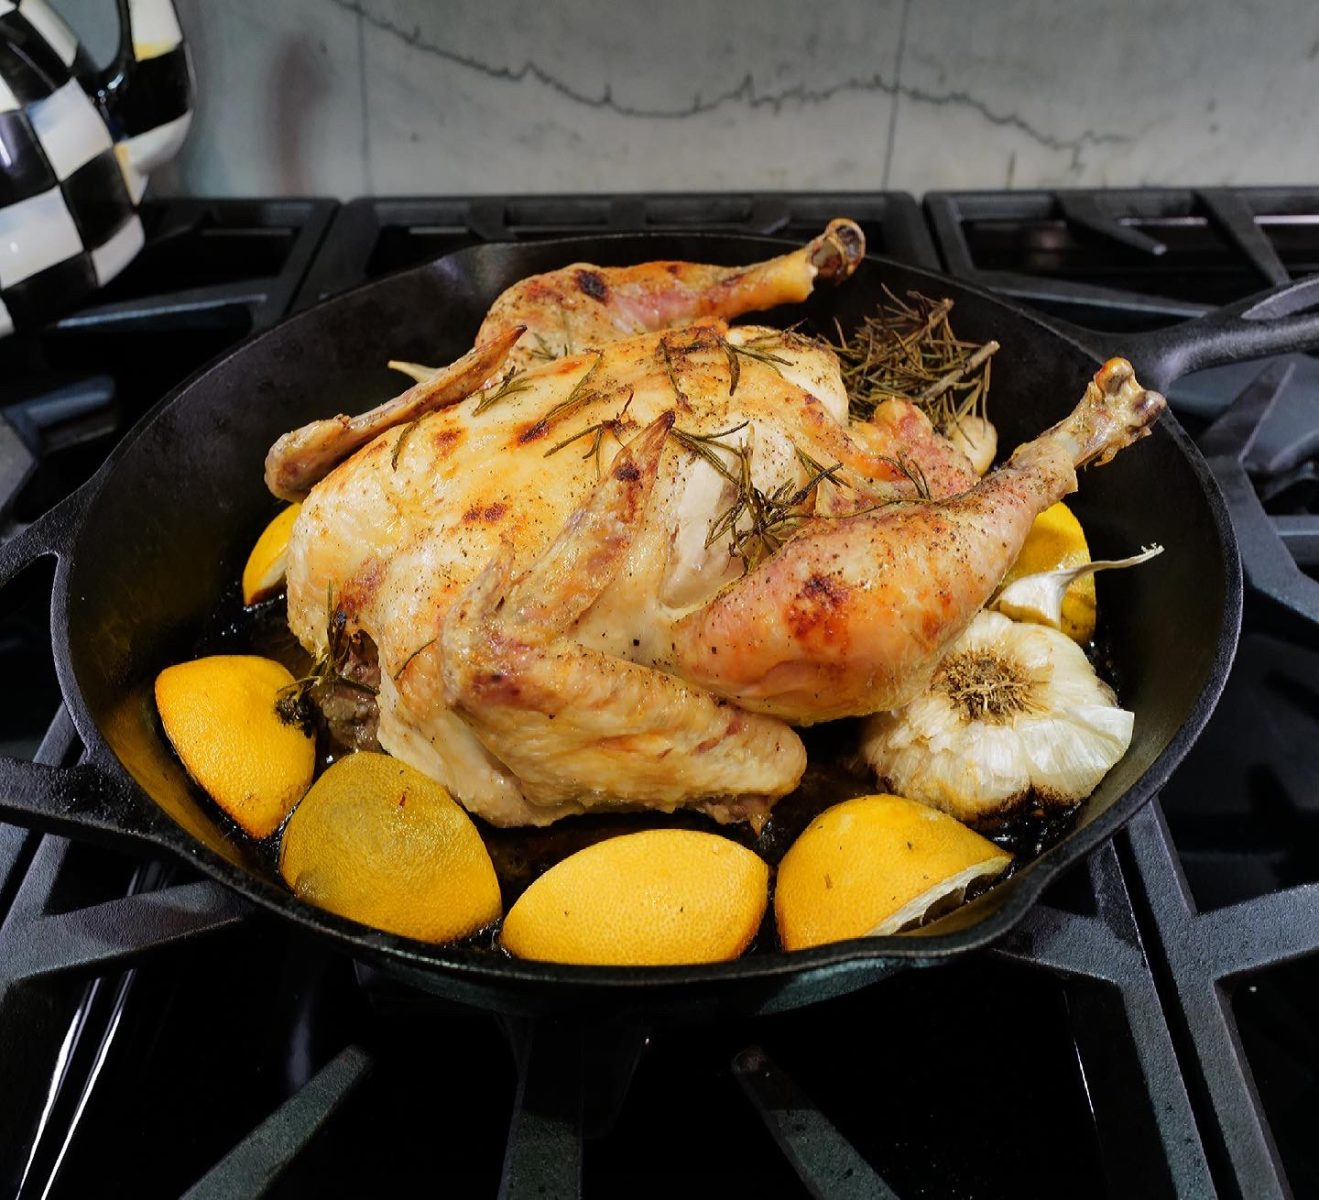
Place chicken bones from whole roast chicken or lemon chicken roast, pieces, and carcass into a large stockpot. Using frozen bones straight out of the freezer is fine! Depending on how much you have, you will need to choose a larger or smaller pot. Cover the carcass, bones, and all scraps with filtered water until just covering. Add apple cider vinegar and allow to sit for 30 minutes. Turn stove heat to high and bring to a boil, then reduce heat to a light simmer. Simmer all day long, without the lid or with the lid slightly cracked to allow steam to release. If water cooks off, revealing the bones, add a little more water to just cover bones again. During the simmer process, all bones should always be covered with water.
Step 2
If it becomes late in the day, simply place the lid on the pot and turn off the heat before you go to sleep. In the morning, bring the pot to a boil again and then reduce down to a simmer and continue to cook. Allow to simmer for a few hours more for a total of at least 12 hours. Water line should be just at or below the height of the bones, from evaporation, when it’s finished to ensure a gelatinous broth. Stock will begin to reduce, over time, but allow it to do so slowly so that nutrients, collagen, and gelatin can be extracted from the bones. Turn off heat when finished cooking and allow to cool for several hours on the stove.
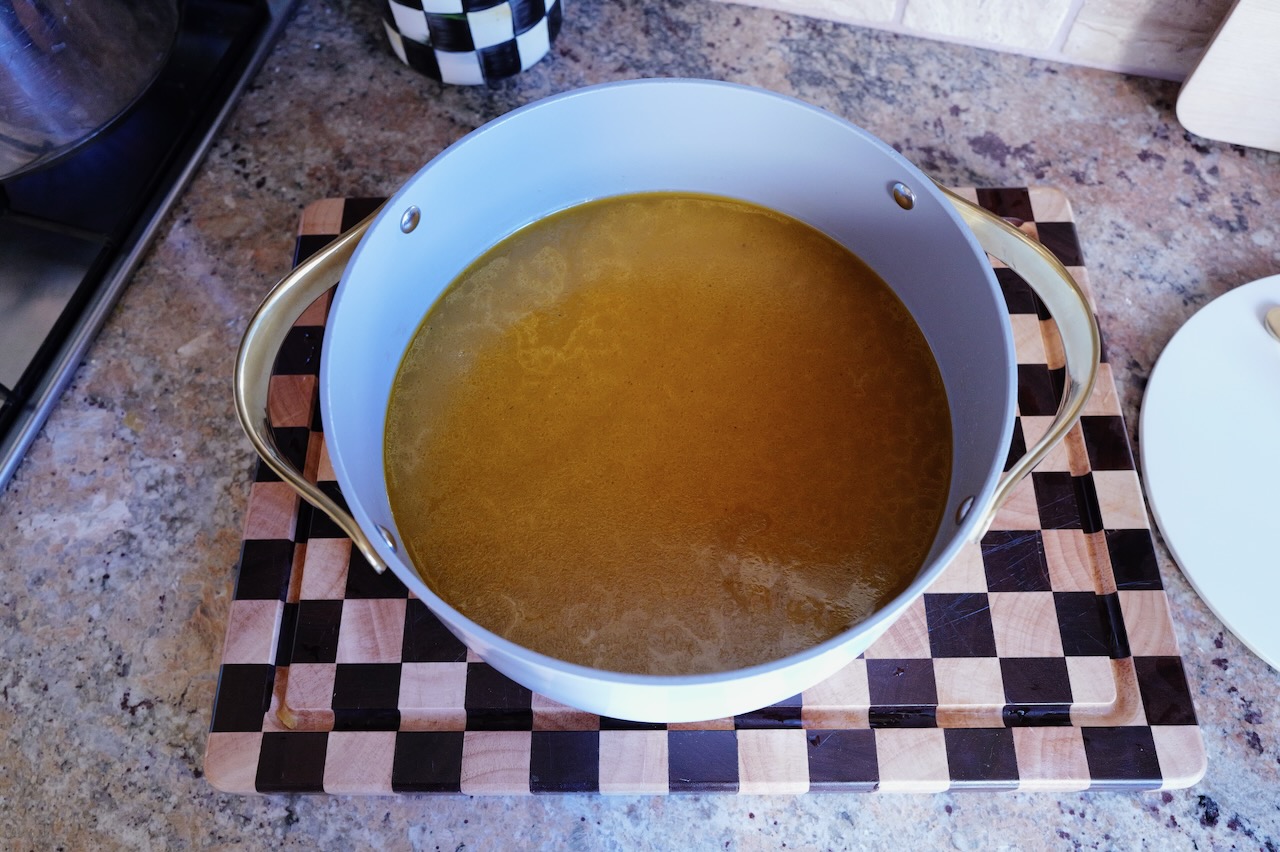
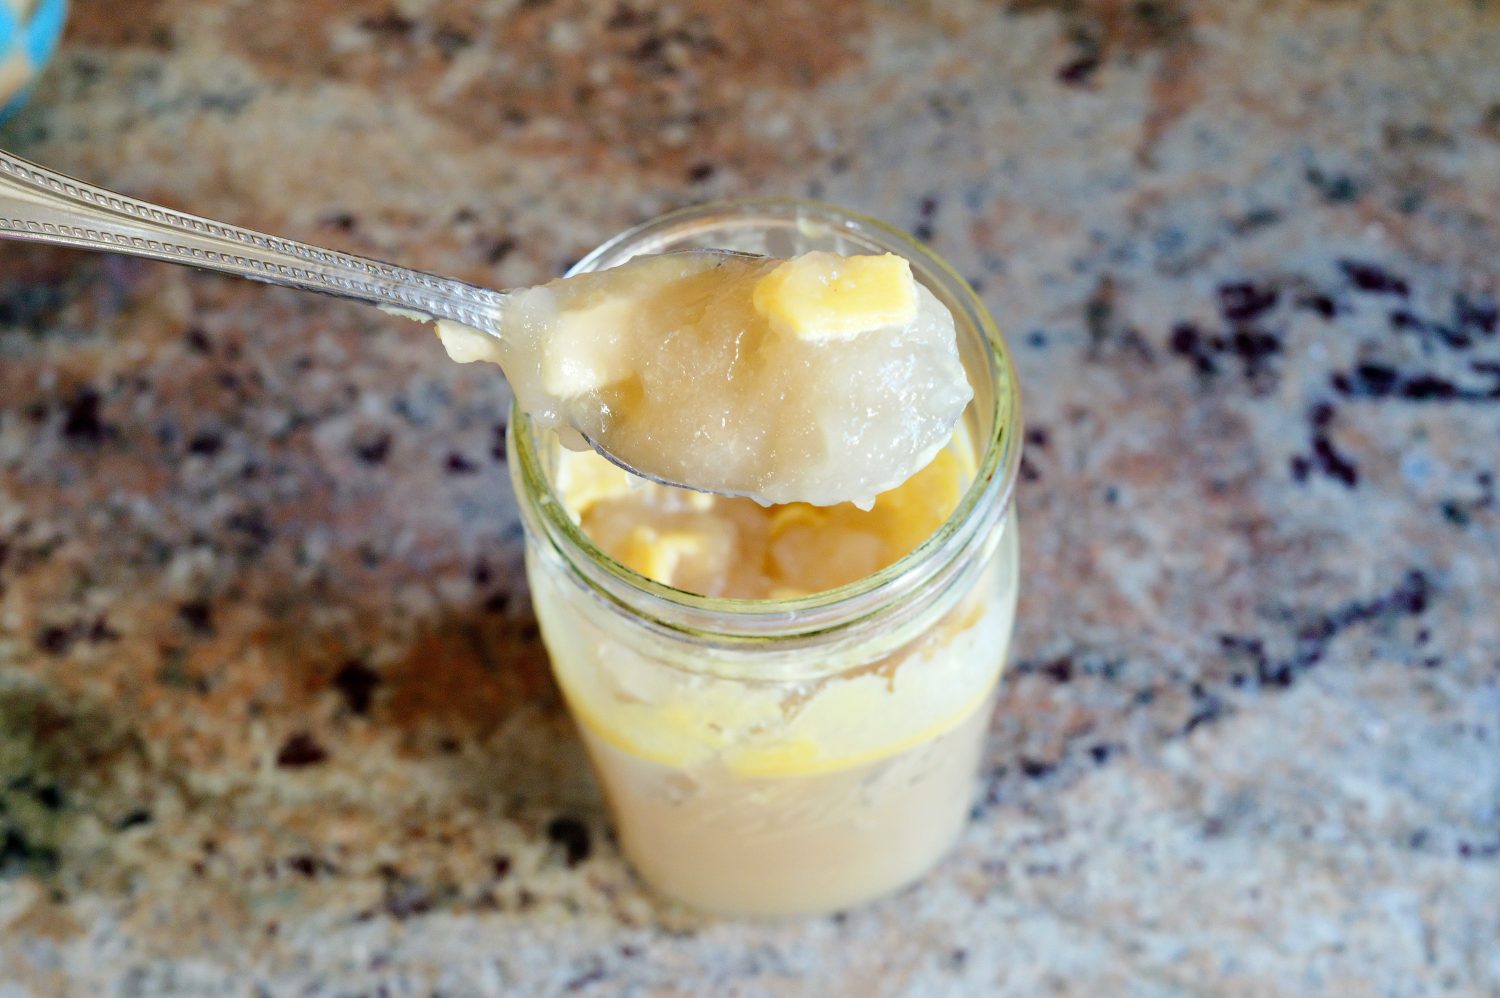
Step 3
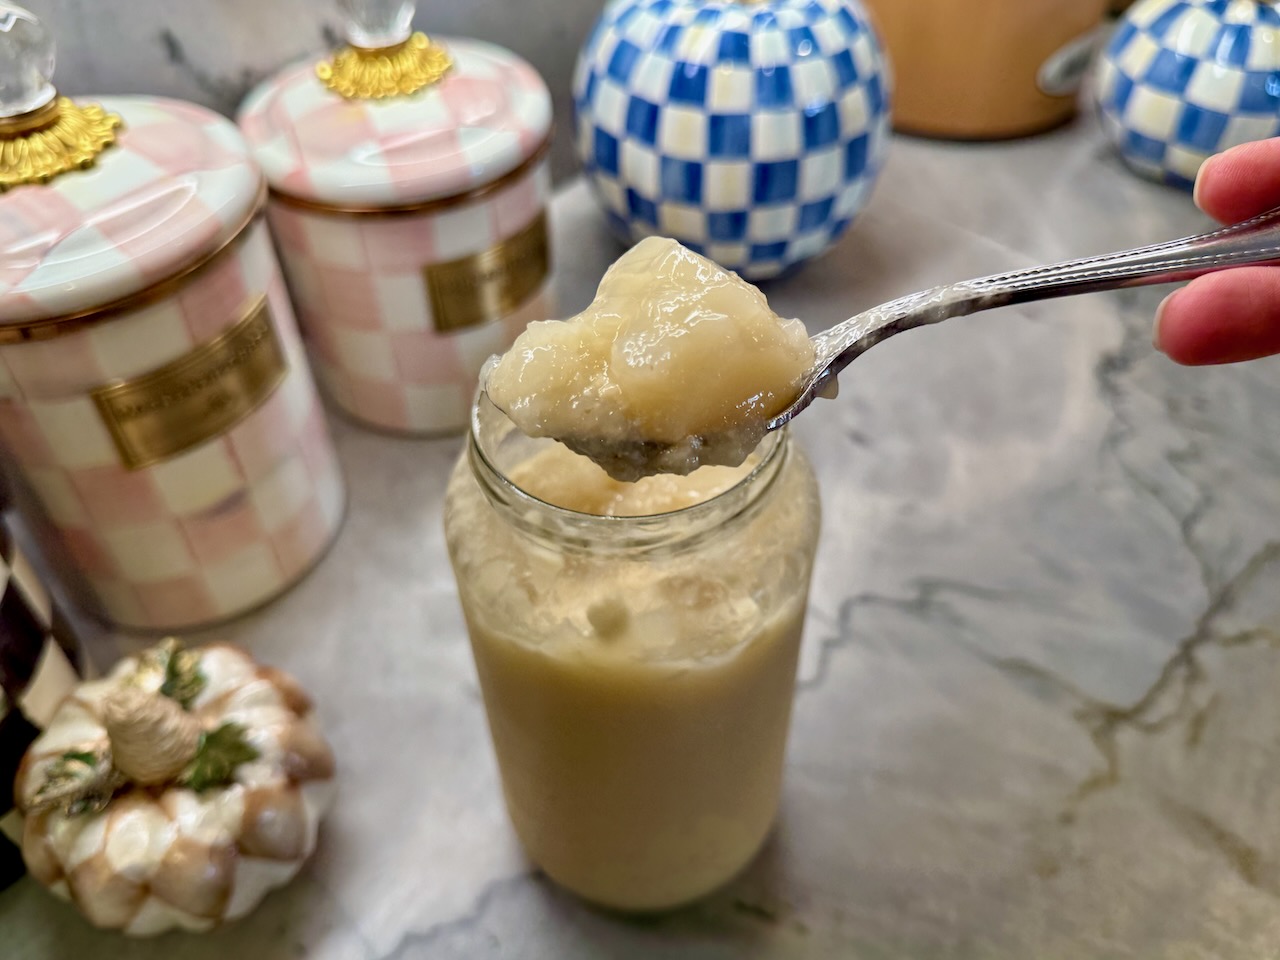
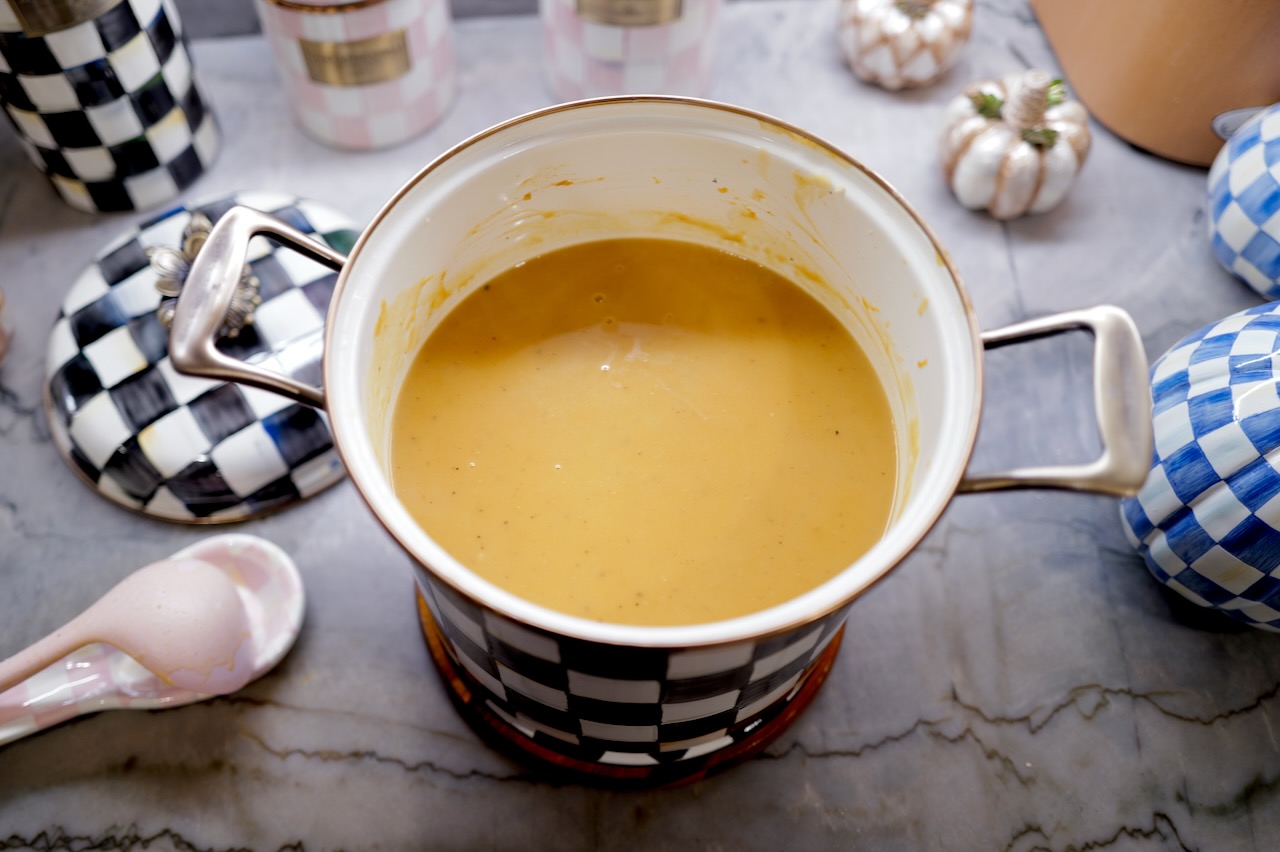
Place a fine mesh colander overtop a large bowl and strain the broth from the bones. Place in the fridge overnight so that any fat in the broth rises to the top. You will be able to easily scrape this hard layer of fat off the next day with a spoon and reserve for your cooking needs. If broth is gelatinous (it should be!), you’ll need to reheat on the stovetop so that it liquifies before storing in smaller jars.
Step 4
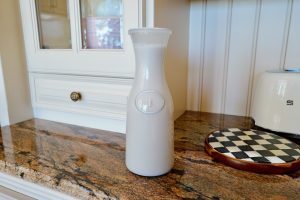
Transfer the liquified broth into 4-cup glass storage jars. I prefer this size as I can thaw one or 2 at a time for recipes, such as cooking rice, lentils, or making a soup. If freezing jars for long-term storage, do not pour broth past the curve at the top of jar. It’s important to stop right before the curve as the broth will expand when frozen. If the broth is filled past the curve, the jar will crack. When placing in the freezer, be sure the jars are standing up. When they are frozen, they can be turned on their side, but it’s important to keep them standing before fully frozen.
Quick Thawing Tip
When ready to use the broth, I like to place 1 or 2 jars in a large bowl with cold water. You can also put in a small sink and fill with cold water. Do not use hot or warm water to speed up thawing as this will crack the jars during thawing process! I will change water frequently so that it’s not ice cold. This way I can thaw broth pretty quickly…less than a few hours! If you have more time, you can place in the fridge to thaw, although this may take 2-3 days to fully thaw.
Long-Term Storage Tip
I prefer not to store broth in fridge for more than a few days, which is why I generally will freeze an entire batch of broth. When freezing, I use 4-cup or 1 quart glass mason jars. Do not pour broth past the curve at the top of jar. This gives you about 3 cups per jar. It’s important to stop right before the curve as the broth will expand when frozen. If the broth is filled past the curve, the jar will crack. When placing in the freezer, be sure the jars are standing up. When they are frozen, they can be turned on their side, but it’s important to keep them standing before fully frozen.


Notes
Read our recipe notes below (0)