Step 1
Mix milk or water, coconut sugar and active sourdough starter in a medium-large bowl using a danish dough whisk. Then, add flour and salt and stir into wet mix well until everything is fully mixed in. Pour in melted butter and work it into the dough with your hand by squeezing it with your fingers. Place a plate on top of bowl and let rest for 15-30 minutes.
Step 2
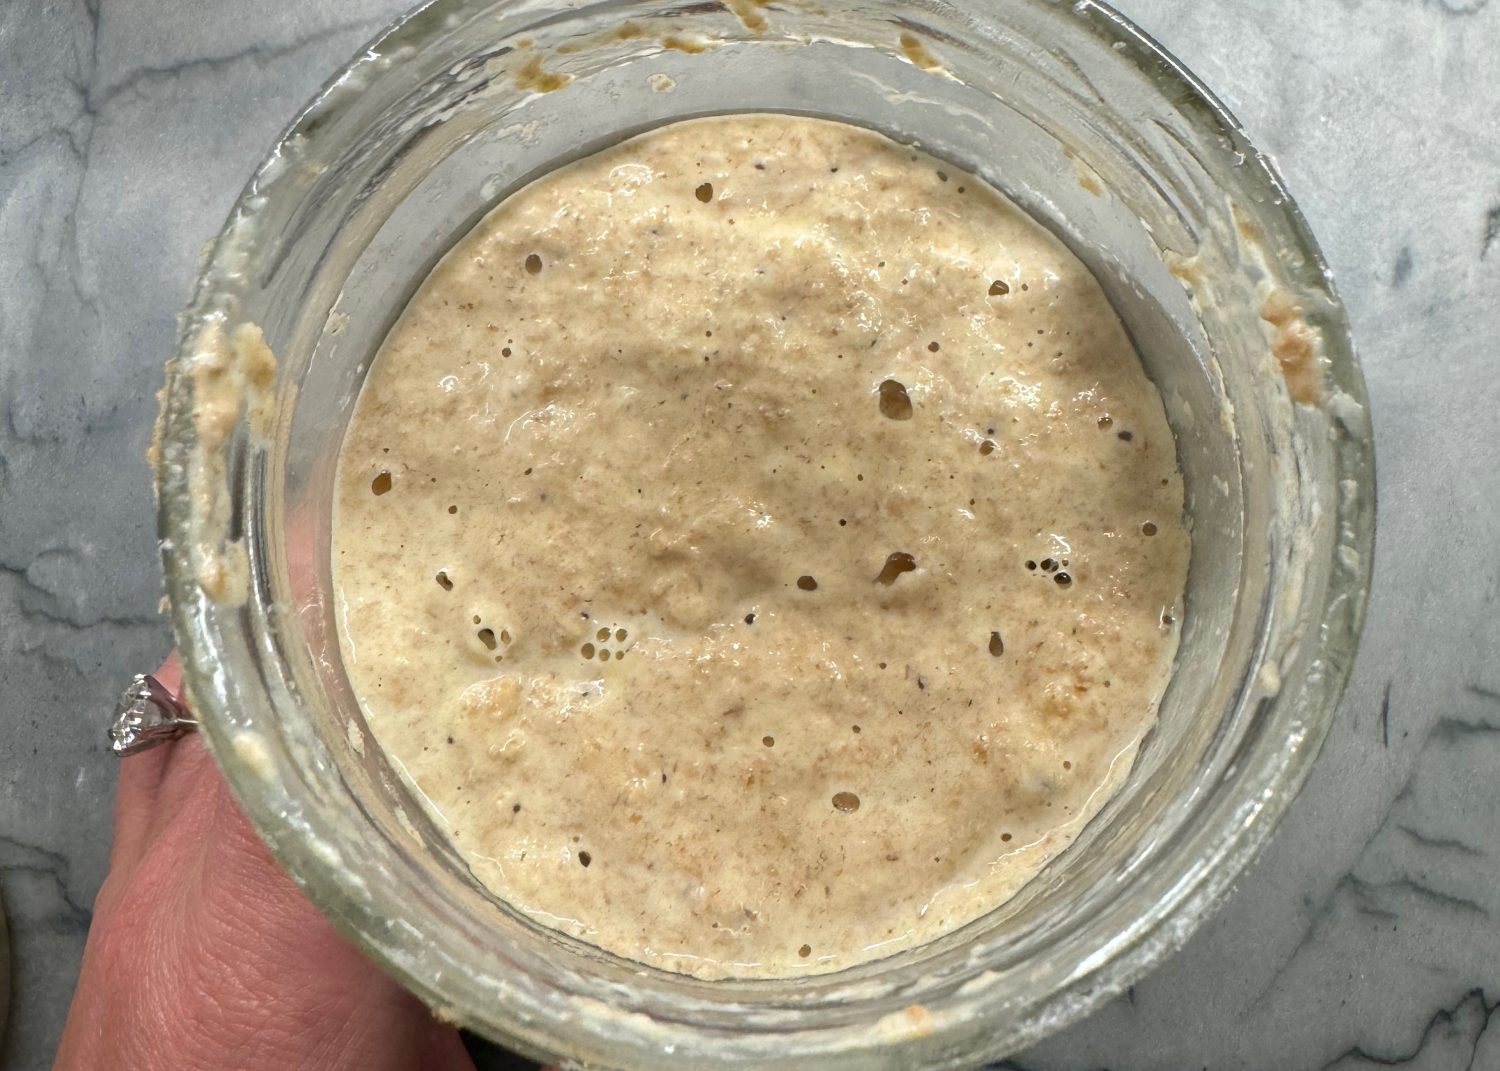
Use a dough scraper to help you remove the dough from the bowl. Knead for 1-2 minutes on unfloured counter. Dough may be sticky, just work fast and don’t worry if you get dough on your hands. Then, place dough back into bowl with help of the dough scraper and let it rest 15-30 minutes again. Repeat this process 1-2 more times. After several kneads, the dough will become more pliable, stretchier, softer, and not as sticky. Cover with compostable cling wrap and then a towel on top, and let ferment on counter or in warm oven (to speed things up) for 7-12 hours or until dough is puffy and domed at top and edges are pulling away from the side.
Note: If dough is still very sticky after several times of resting and kneading, there may be too much milk/water added for flour and you should add a little bit less next time.
Step 3
Pay attention to your dough as fermentation times may vary greatly. When dough looks puffy, use a dough scraper to remove the dough from bowl. Sprinkle flour onto counter surface and carefully pull the dough into a rectangle, then pull the left long side to the middle, right long side to the middle, then roll the top down towards you. Use your dough scraper to shape this into an oval shape, turning and rotating the shape while using your dough scraper to pick it up and turn, until you have a nice round top and oval shape with seam at the bottom. Use your dough scraper to move the oval to a floured surface and let it rest for a few minutes while you prepare the bread pan. Place unbleached parchment paper into 9×5” bread pan and then use the dough scraper to help you place the dough into pan, seal side down. Work fast so dough doesn’t stick to you. Let proof for one hour until a little puffier and softer. It shouldn’t rise too much during this time.
Step 4
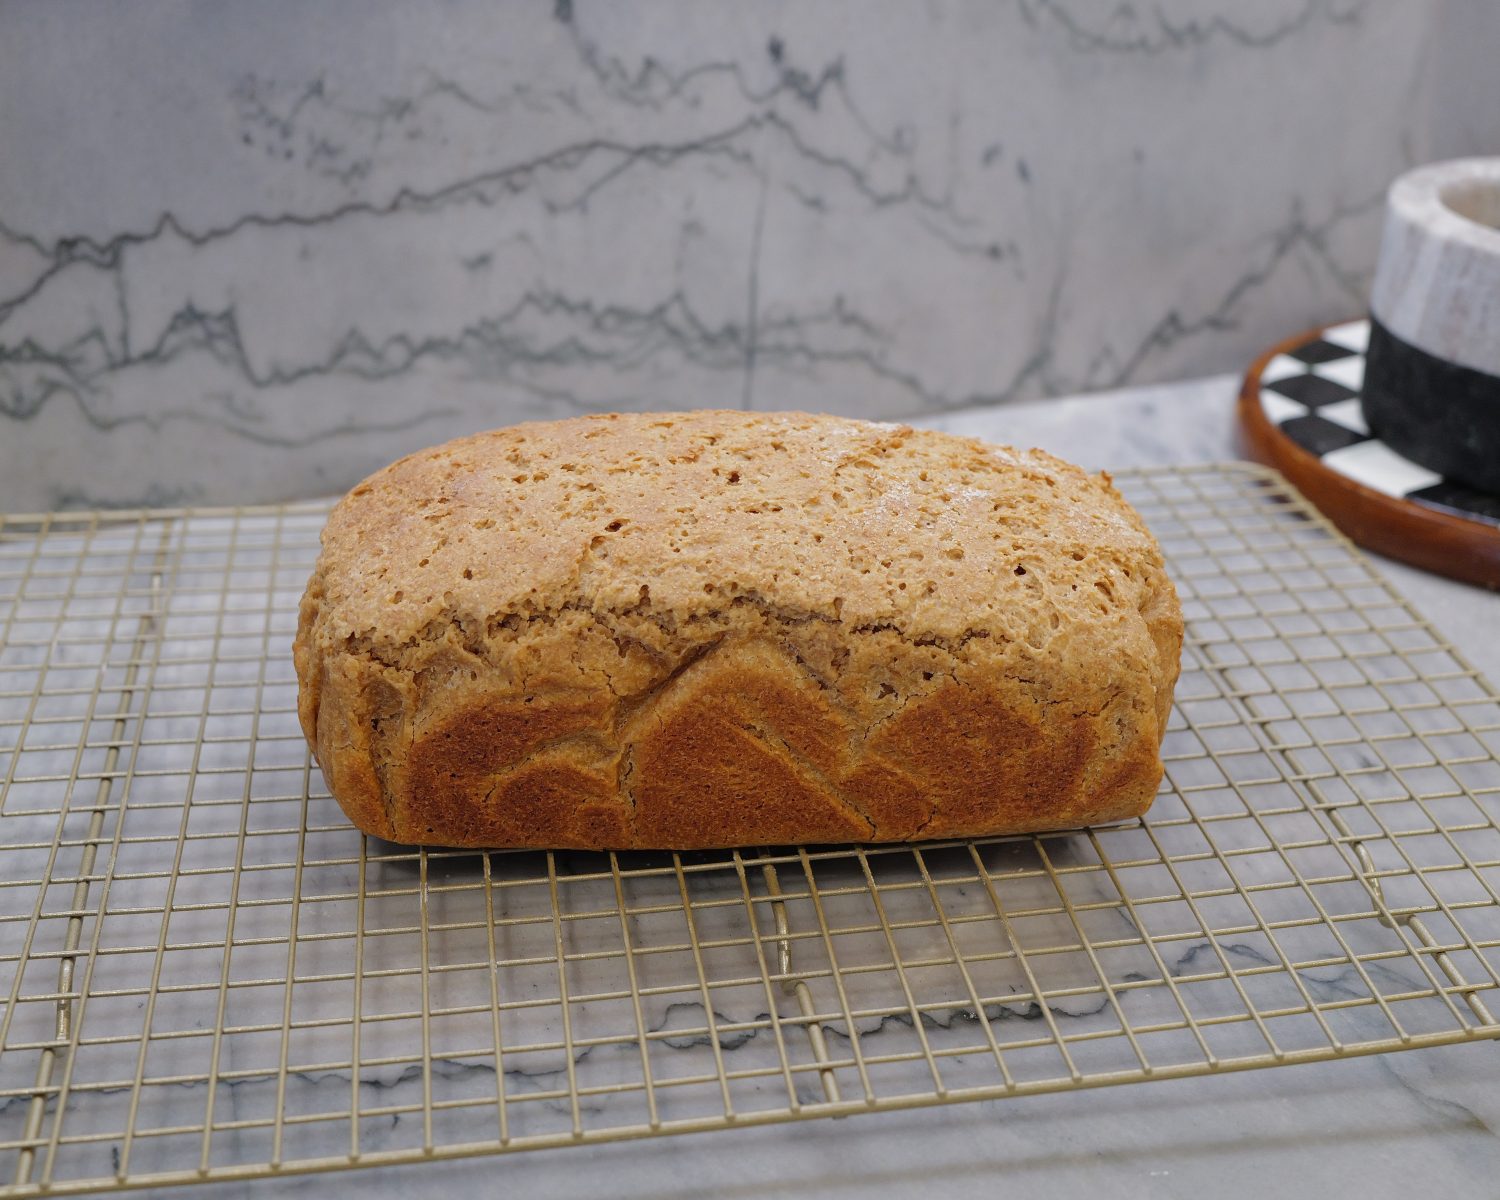
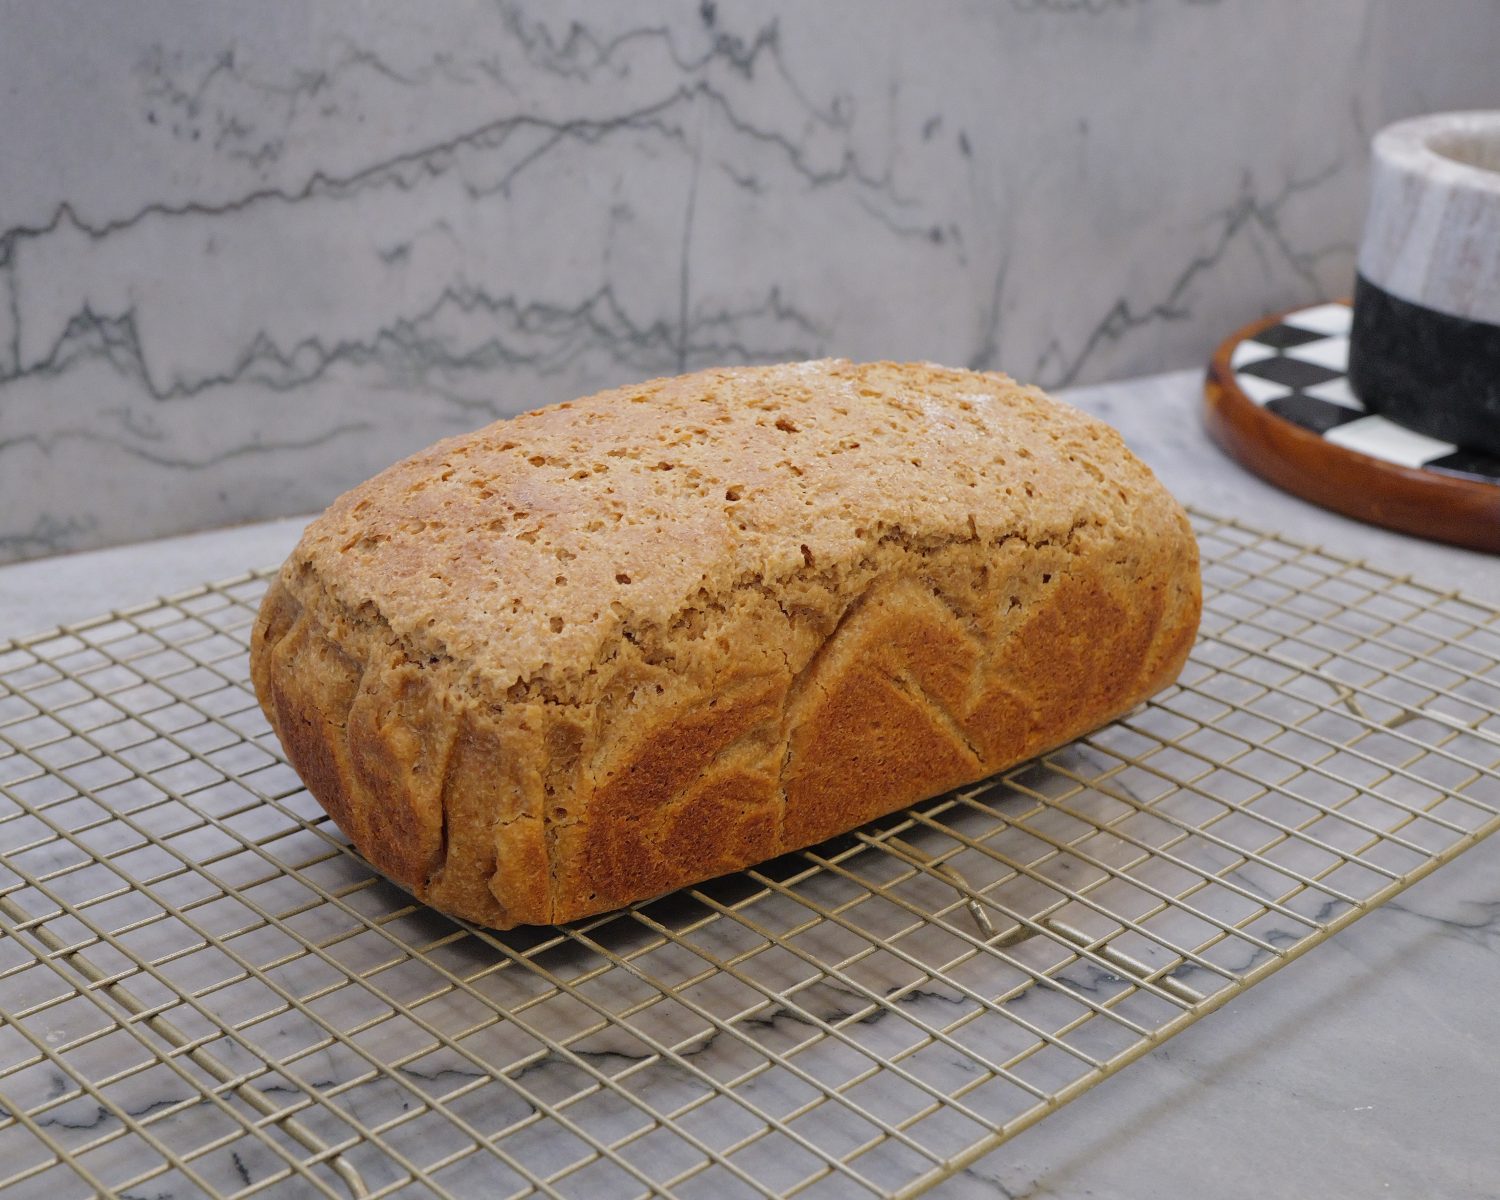
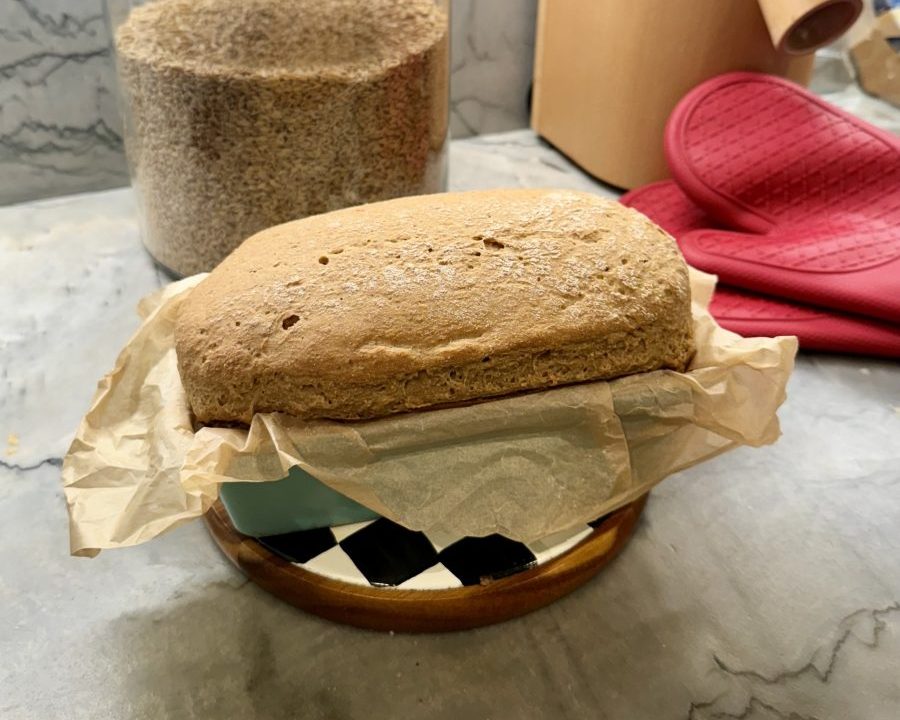
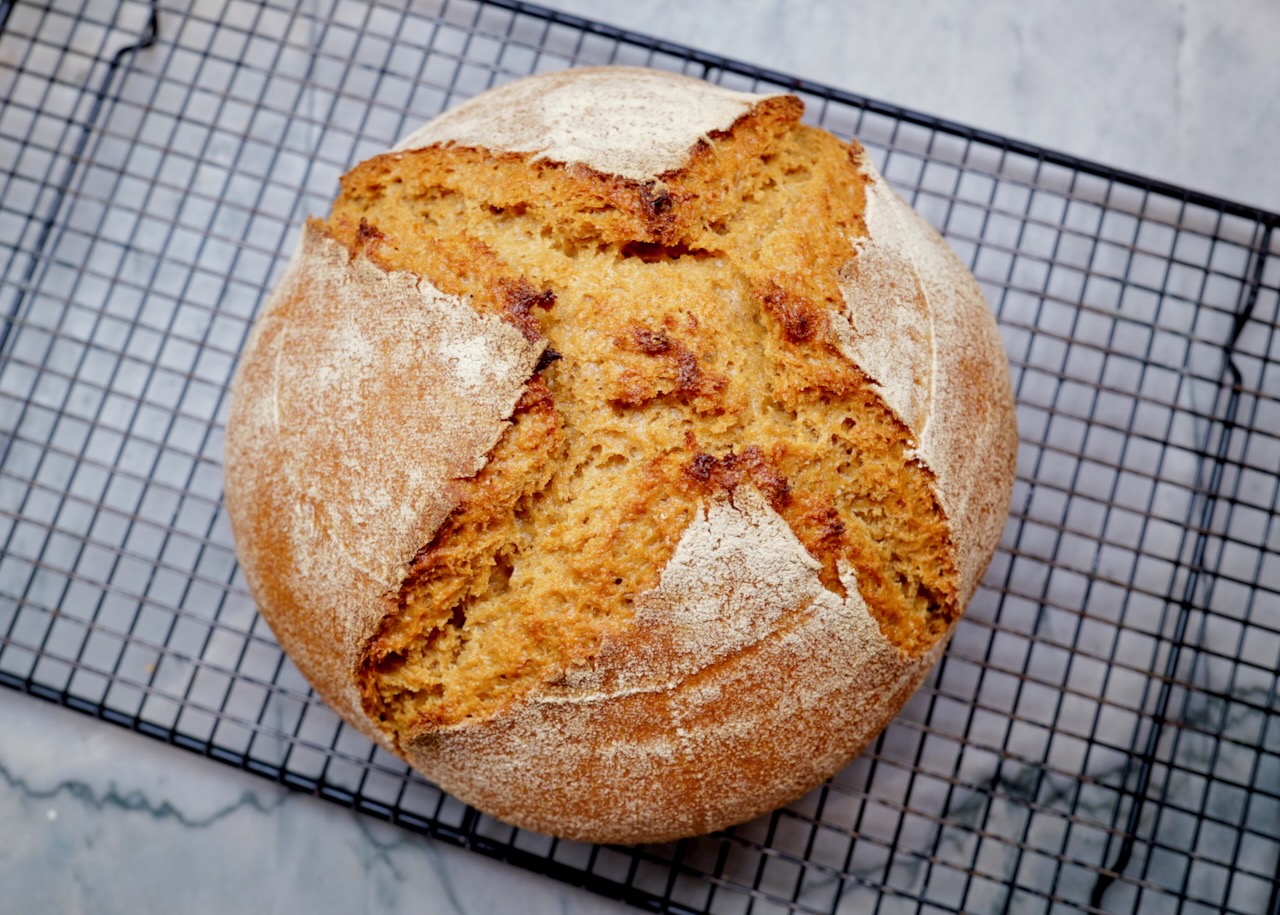
Preheat oven to 375℉ after dough has been proofing for 30-45 minutes. When dough is proofed, place it in the oven and bake for 40 minutes until golden. Remove from oven and grab each side of parchment to lift bread out of the pan. Allow to cool on a rack until room temperature as the bread will continue to cook after it comes out of the oven. Do not cut into hot bread as it will not be fully cooked yet.
Note #1
If you don’t get a perfect product the first, second, or even third time around, don’t worry! It takes practice and every environment is a little bit different and thus fermentation times may vary. Keep notes and do what works best for you. You will get better at working with this dough and will find what works best for you with practice!
Note #2
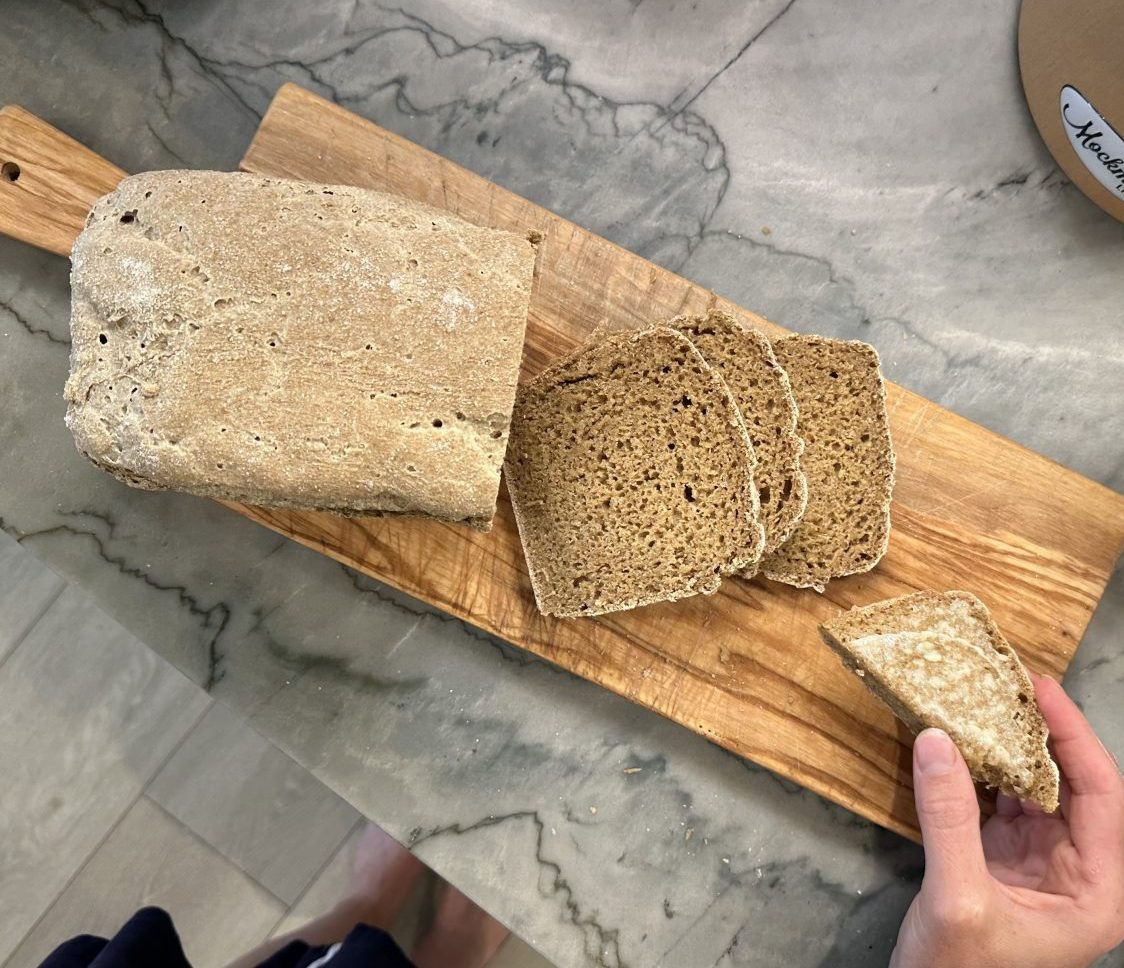
If bread comes out very dense like a brick, you can still consume it. Slice and toast, then spread with butter and it’s perfect. Keep practicing!
Note #3
Einkorn is very different than modern wheat. It’s low gluten and the gluten bond is not as strong, so it will not rise and stretch like modern wheat products will. It’s also much stickier to work with. Once you get used to this, you will be fine, but in the beginning it may feel daunting. Just know, this is normal. You can always use less liquid. which will make dough less sticky, until you feel ready for a more hydrated dough.


Notes
Read our recipe notes below (4)