Updated on May 17, 2026.
Step 1
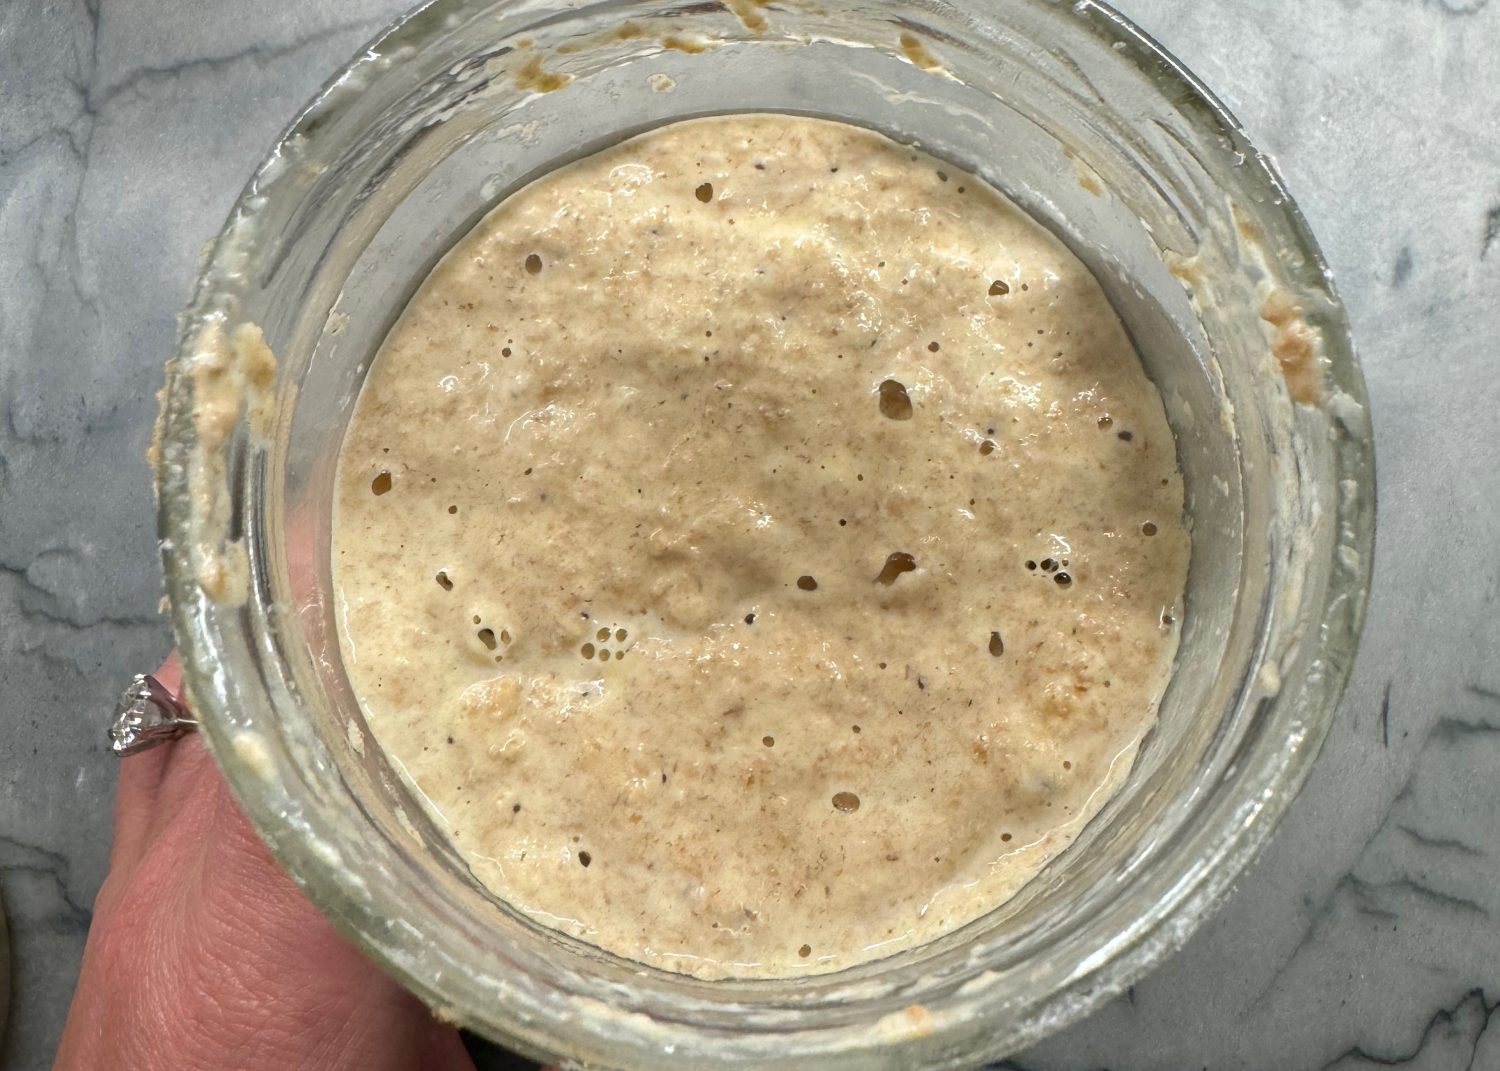
Combine sourdough starter and water in a ceramic mixing bowl.
Step 2
Add in flour and salt and stir with a spatula or dough hook until a round dough is formed. It should not be too dry and it should not be wet. If it seems too dry, add a tablespoon or two until dough comes together.
Step 3
Let the dough rest for 10 minutes. Using a dough scraper, gently loosen the dough from the sides of the bowl. Wet fingertips, then knead the dough directly in the bowl for a few minutes by stretching one edge upward, then folding and pressing it into the center. Rotate the bowl and continue this stretch-and-fold motion all the way around, like moving around the face of a clock. Let the dough rest for another 10–15 minutes, then repeat this kneading process two more times.
Step 4
Cover with compostable cling wrap and let ferment at room temperature for 12 to 24 hours.
Step 6
Using a dough scraper, transfer the dough to a lightly floured surface and divide it into 4 equal pieces with your dough scraper. Shape each piece into a round by gently stretching the edges into the center. Flip the dough seam-side down, then cup your hands around it and gently rock and rotate it against the surface to create a smooth, taut ball. Lightly flour the tops, cover, and let rise for 30–60 minutes, or until noticeably puffed and airy.
Step 7
Heat a pizza stone at 500℉ in your kitchen’s oven for 30 minutes. Ideally, use an outdoor oven or barbecue as this gets much hotter! If using an outdoor barbecue, preheat stone for 15 minutes. Stone should be very very hot!
Step 8
Flour a surface liberally. Take one of the round pizza doughs and flatten it out slightly on a floured surface. Continue to flatten, lift and turn the round each time so it doesn’t stick or break. Try to flatten dough as much as you can without causing it to break. When ready, remove the hot pizza stone from the oven and place on the stovetop. Carefully and quickly turn the thin pizza dough onto both of your hands and transfer it to the hot pizza stone. This may be a slight learning curve! On the stone, continue to spread the dough out larger and thinner with your fingers or palm of hand − pressing on the edges and helping it to expand. The thinner the better! If the dough breaks, don’t worry, just try to even it out as much as you can.
Step 9
Add pizza sauce in the center, then use a spatula to spread it thinly all the way to the edges. Add the shredded cheese, covering the sauce completely. Add any other desired toppings, like beef pepperoni, and bake in the 500℉ or hotter oven for 7-8 minutes. If using a barbecue, you may need 6 minutes. Indoor oven may take 8-9 minutes. The pizza will be sizzlin’, the cheese golden, and the crust will be golden and crispy on the edges.
Step 10
Remove the stone from the oven and allow to sit for 3-5 minutes to firm up. Use a stainless steel spatula to loosen the base of the pizza on all sides. Slide the pizza off the stone and onto a wooden cutting board. Slice with a pizza cutter. Enjoy immediately
For Multiple Pizzas:
You want to keep the stone very hot, so in between pizzas it’s best to keep the stone in the hot oven so it’s ready when you make the next pizza. If you’re making pizzas for lots of people, it’s best to use 2 stones! Keep both on the grill or oven and rotate stones while you make pizzas.
Storage Tip #1:
If not using all of the pizza dough in one go or if making ahead, you can store your fermented pizza dough in the fridge for later use and quick and easy dinners. Actually, the dough improves flavor the longer it sits in the fridge! It will not go bad! You can even transfer from the fridge to the freezer with no issue.
I like to wrap each pizza dough in compostable seran wrap and keep doughs in a large ziplock bag in fridge or freezer. When pulling out of the freezer, just place in the fridge and it will be thawed the next day. Take out of the fridge several hours before cooking to ensure it’s at room temperature and soft to work with.
Making Dough That’s Been Stored in Fridge:
Remove from fridge 2-3 hours before baking so dough can warm up. Flour a surface and flour the dough. Knead it for a minute or two until it’s soft and not breaking apart. Then follow the steps in Step 8.
Troubleshooting:
If dough is hard to handle, this is normal! It takes some practice to get used to working with this dough. The gluten is low and doesn’t stretch like modern wheat, so you’ll need to be extra careful with it. The thinner you can get the dough the better! If it won’t get as thin as you’d like, it’s easier to get it thinner and to spread it out once it’s on the hot pizza stone. Just carefully use your hands to smush the dough and spread it as large as you can. Feel free to drop questions in the comments.











Notes
Read our recipe notes below (12)