Occasion
Diet
Nourishing Winter Kitchen
Mineral-rich, immune supportive, gut healthy meals for the season.
Total Time
100 min + fermentation
Prep Time
60 minutes
Cook Time
40 minutes
Rating
(17)
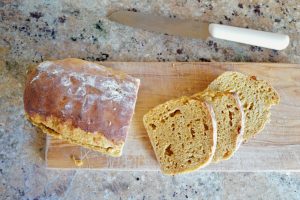
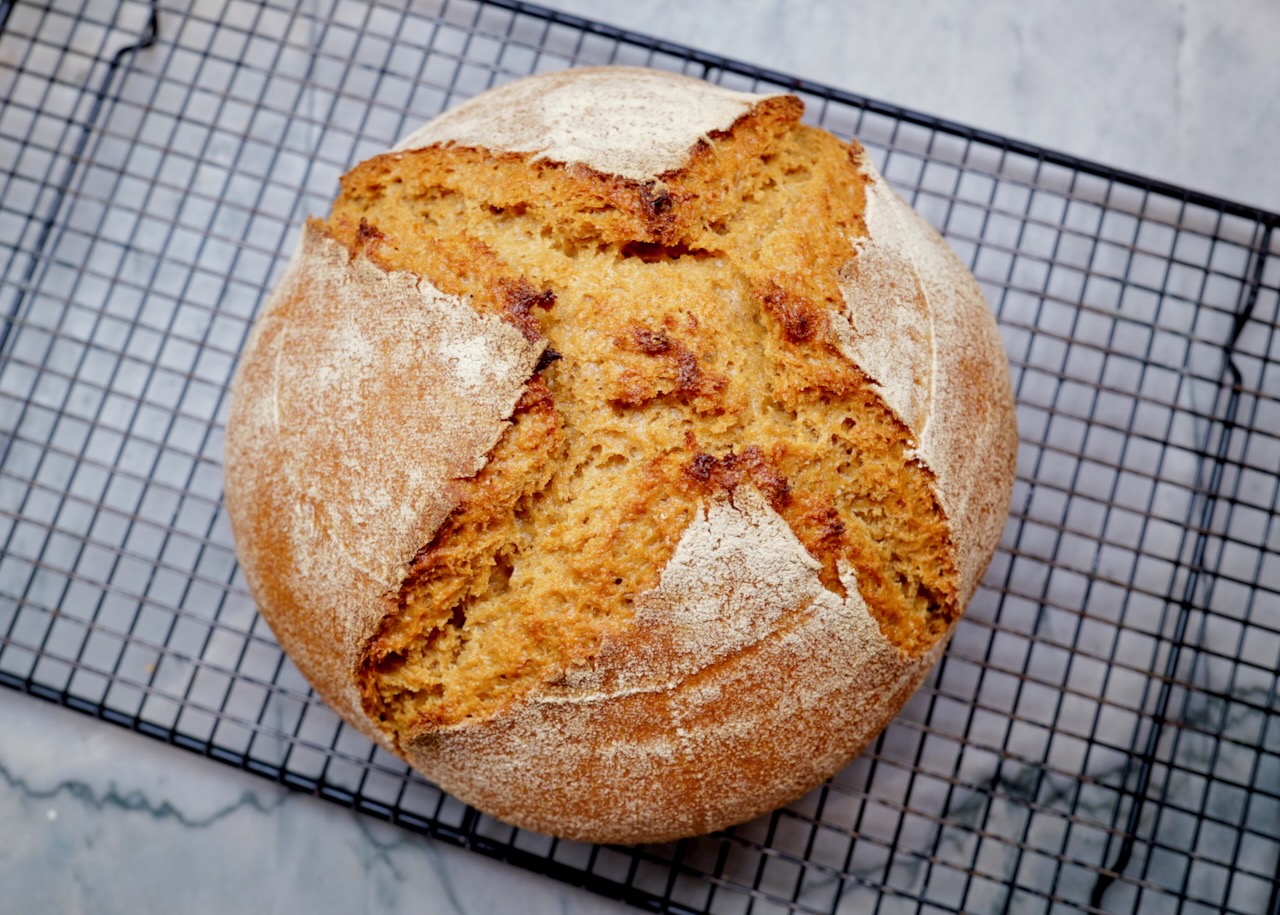
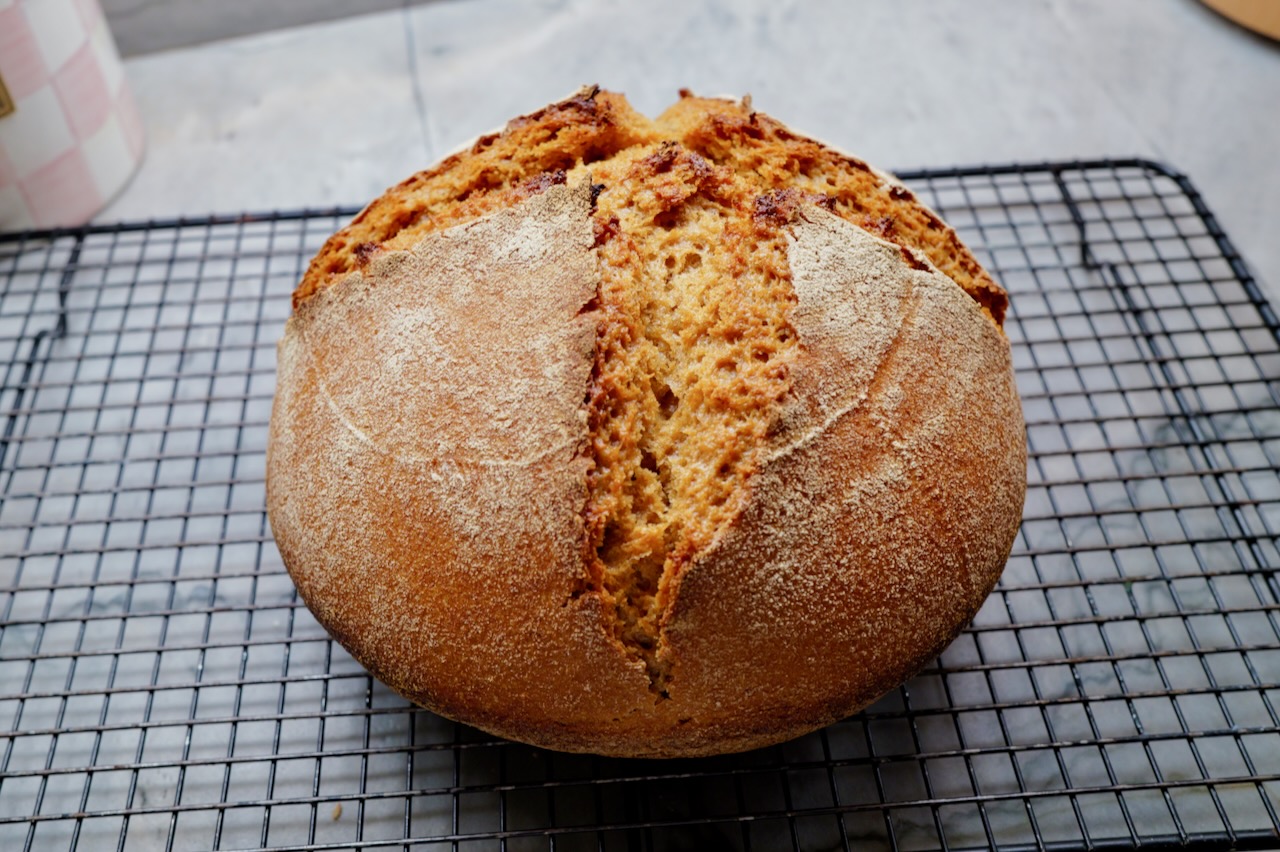
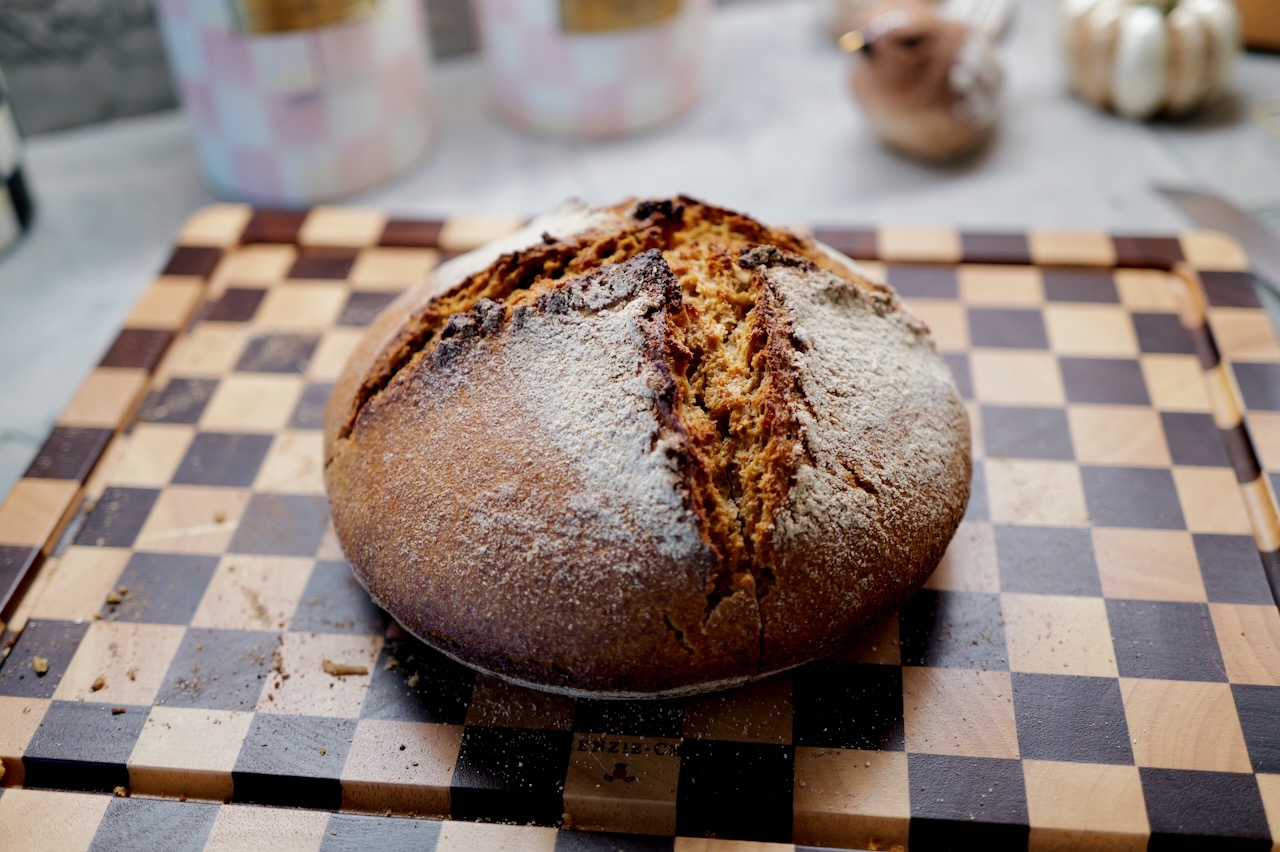
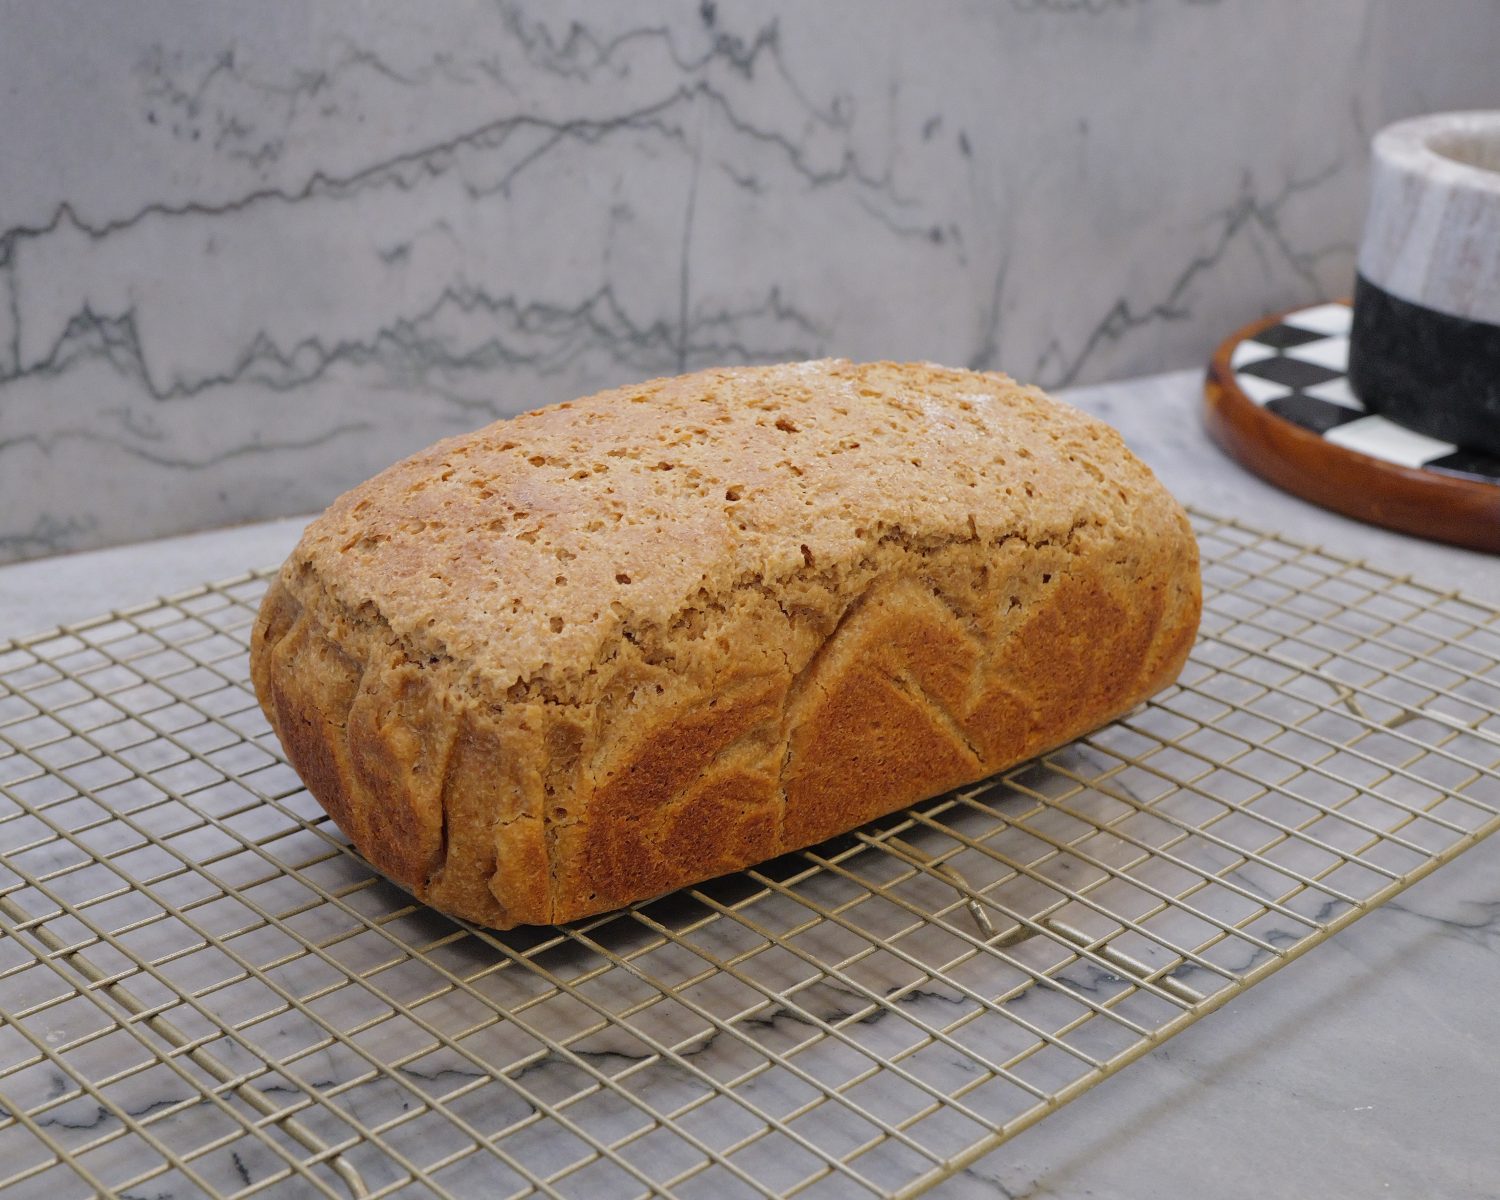
This einkorn sourdough bread recipe is wholesome, flavorful, and simple to make. Using ancient einkorn wheat, this easy sourdough loaf bakes up with a golden crust, chewy crumb, and rich, nutty flavor that’s easier to digest. Imagine a bread that you can feel good about eating…this is it! Step-by-step instructions make it simple to enjoy einkorn sourdough bread fresh from your own oven.
This einkorn sourdough bread recipe is wholesome, flavorful, and simple to make. Using ancient einkorn wheat, this easy sourdough loaf bakes up with a golden crust, chewy crumb, and rich, nutty flavor that’s easier to digest. Imagine a bread that you can feel good about eating…this is it! Step-by-step instructions make it simple to enjoy einkorn sourdough bread fresh from your own oven.
Directions
Method was updated/edited on January 20th, 2026.
Step 1
In a large ceramic bowl mix active sourdough starter and water with a fork or Danish dough whisk until well integrated. Add flour and salt and combine ingredients using your danish dough whisk until a round dough is formed. Use your hands to help the remaining flour into the dough. Place plate on top and let dough sit for 10 minutes.
Step 2
Remove from bowl with a dough scraper and knead the dough with quick actions on a clean surface to develop the gluten and create a smoother dough. You shouldn’t need to flour the surface. Use the dough scraper to help lift the dough if needed. Dough may be slightly sticky, which is fine, just continue to knead until it’s smooth. Place dough back into bowl, cover bowl with a plate and let sit for 15 minutes.
Step 3
Use a dough scraper to release the dough from the bowl, but don’t remove the dough from bowl. Pull a side from the dough up and press into the center. Take another piece and press into center. Do this with all pieces of the dough as you move around the dough. Cover bowl and let sit for 15 minutes. Do this process 2 times.
Step 4
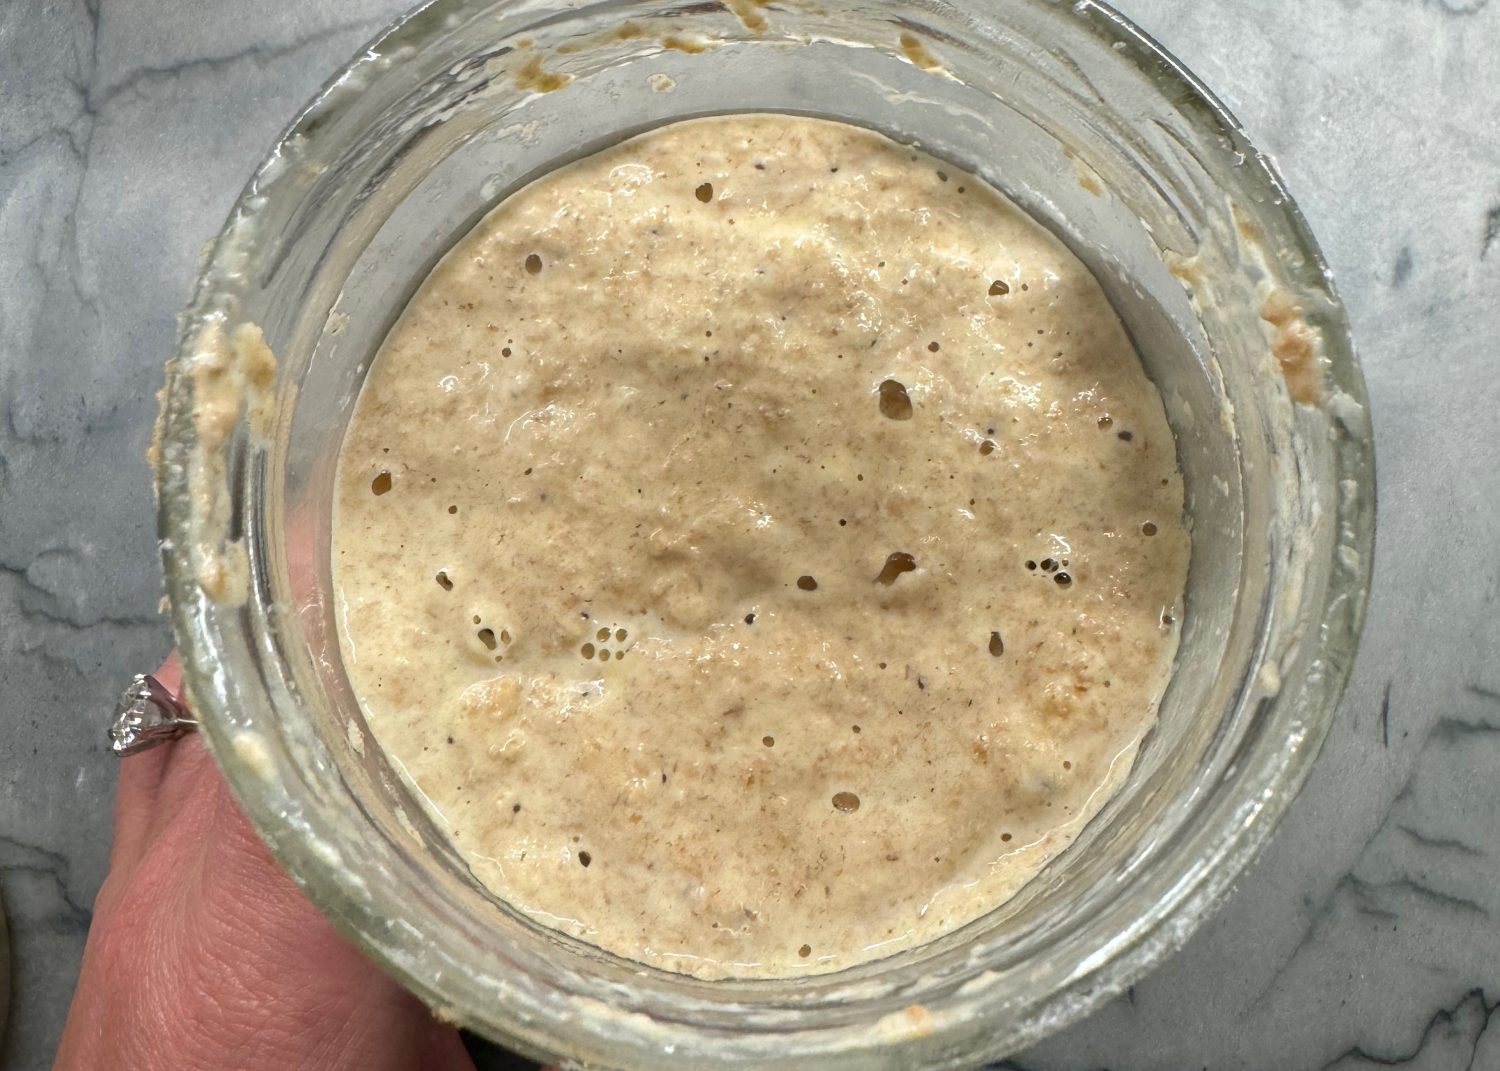
After 2nd time of pulling and pressing, allow dough to sit covered with a plate or with compostable cling wrap and a dish cloth on top. Ferment for 8-10 hours on the counter or speed up the process in the oven with the light on (for warmth), until dough has puffed up and is pulling away from the bowl. There will also be bubbles or holes on the surface of the dough. Keep an eye on your dough to understand the time needed for the ferment. You do not want the dough to over-ferment, which will look like it is wetter and no longer puffed up.
Step 5
Liberally flour a banneton proofing basket. Next, flour a surface lightly and remove fermented dough from the bowl with your dough scraper. Allow to rest for 5 minutes. Lightly knead the dough several times so that it feels soft and stretchy. Bring the dough together as a round, tucking the bottom of the round as you turn the dough. The round should come together as a seam at the bottom. Pull round towards you in a cupping motion until the dough, rotating to the left which each pull so that the dough holds together as a round. You can now sprinkle the round with flour to prevent sticking in next step.
Step 6
Turn the round upside down – seam side up – so the top of bread is on the bottom of the banneton. At this point, you can sew the seam together by pinching pieces together with your fingers until it’s tight and sewn up.
Step 7
Lightly flour the sides and top and drape a dishcloth overtop. Allow to rise for approximately 90 minutes until puffed up. After 60 minutes, place a round dutch oven into the oven and preheat oven to 500℉. Set a timer for 30-45 minutes.
Step 9
Remove the preheated dutch oven from oven and carefully turn banneton upside down so that the round can plop into the hot Dutch oven. Wearing the mitts, shake the dutch oven from side to side to ensure the dough is centered and even. Slash the top of the loaf with a sharp serrated knife or lame dough slasher in an X, square pattern (don’t have the corners connect), tick tack toe, or just one slash through the top. Place the covered dutch oven back in the oven and bake at 475℉ for 22 minutes. Remove the lid and continue to bake for another 20 minutes at 450℉. Remove the dutch oven and turn upside down to remove the bread. Place bread back into the oven for another 5 minutes.
Step 10
Remove bread from oven with your mitts and place on a cooling rack. Allow to fully cool for about 2+ hours before cutting. Bread will continue to cook after coming out of the oven, so it’s important not to cut into it while still hot.
Note #1
You may choose to cold ferment the dough. I will do this if I run out of time in the day and can’t bake it right away. If you want to do this, it’s best to mix the dough in the morning, allow to ferment all day, then shape and place in banneton in the evening. After placing in the banneton, move immediately to the fridge and let the dough proof overnight in the refrigerator. It will rise slowly in the fridge and continue to ferment, just much slower. Bake in the morning. You can allow the banneton to sit at room temperature for a short period while dutch oven preheats in the oven.











Notes
Read our recipe notes below (17)