Step 1
If making homemade pumpkin purée with a sugar pie pumpkin, preheat oven to 400°F. Remove all filling ingredients from the refrigerator and allow them to come to room temperature. Cut pumpkin in half and place cut-side down on a parchment-lined baking sheet. Roast for about 40 minutes, or until soft and tender. If using canned pumpkin, skip ahead to Step 3.
Step 2
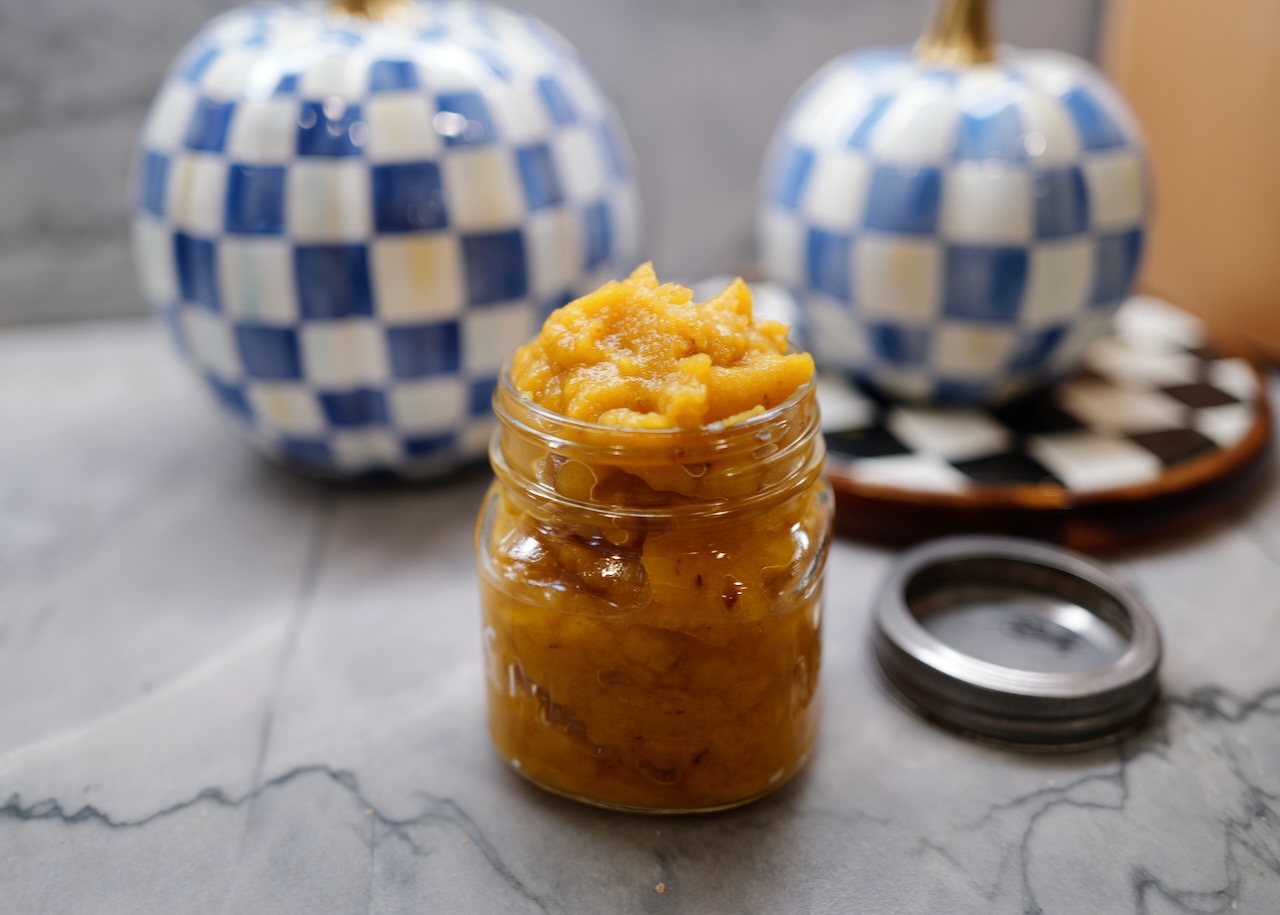
Remove pumpkin from oven and allow to cool until easy to handle. Scoop out seeds and save for another recipe or discard. Peel away the skin, then transfer pumpkin flesh to a food processor and blend until smooth. Measure out 1 cup of pumpkin purée and set aside for the cheesecake filling.
Step 3
In a stand mixer fitted with the paddle attachment, beat cream cheese until smooth and fluffy, scraping down the sides of the bowl as needed. Add sour cream and mix until combined. Add remaining filling ingredients, except eggs, and mix until smooth. With mixer running on low speed, add eggs one at a time, allowing each to fully incorporate before adding the next. Stop mixing as soon as the filling is combined, being careful not to overmix.
Step 4
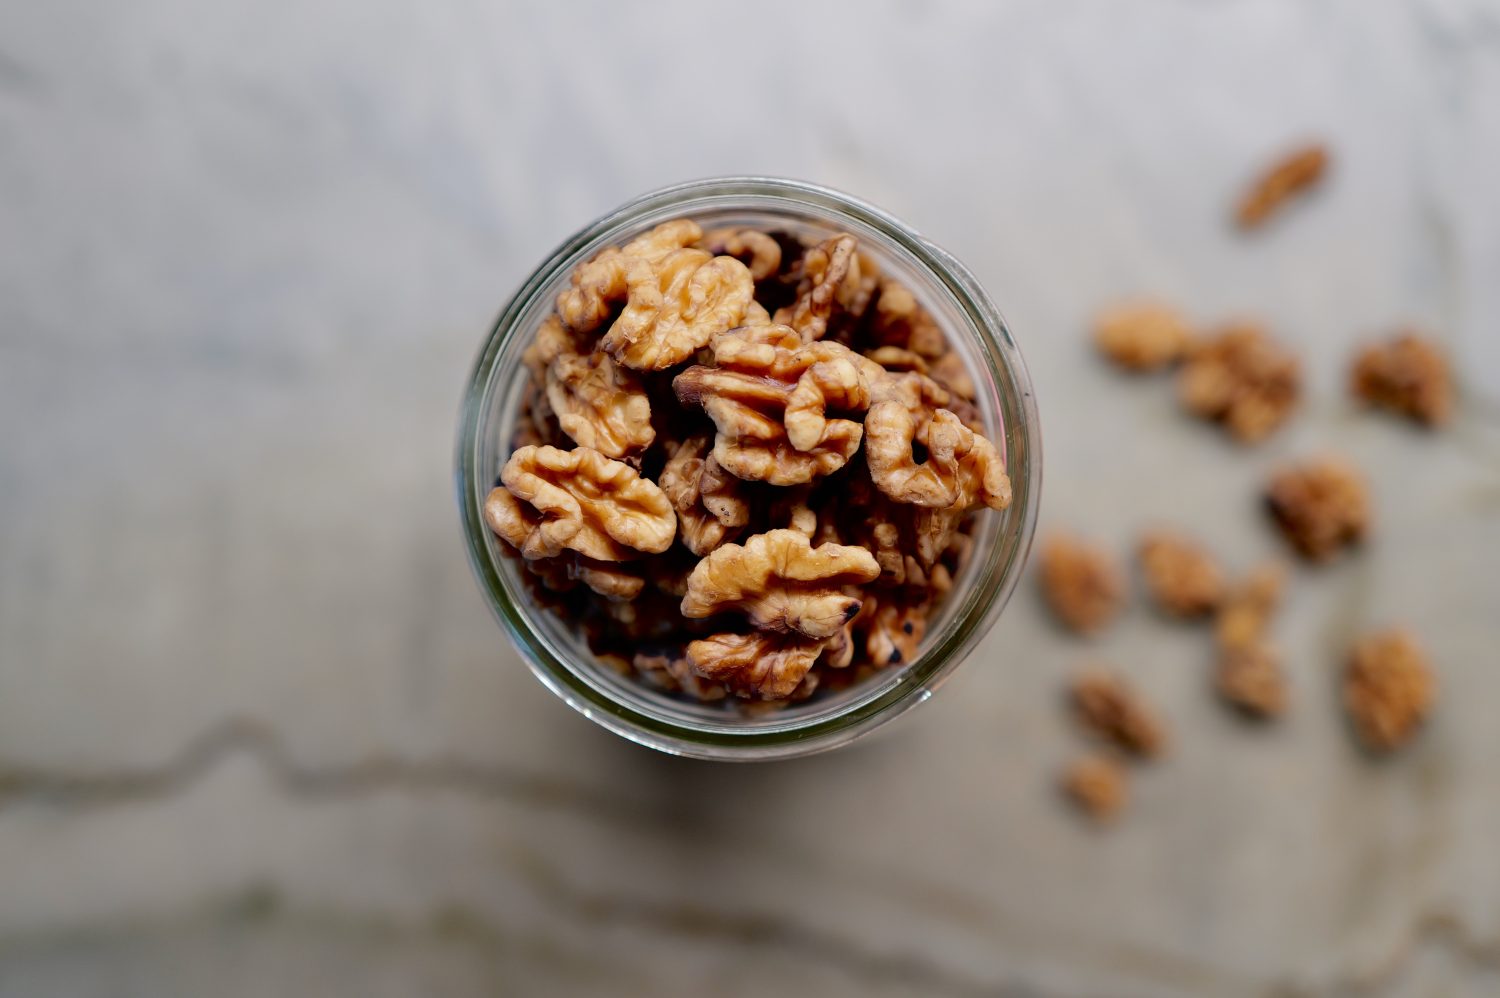
Preheat oven to 300℉. To make the crust, pulse nuts in a food processor until finely chopped. Add pitted dates and salt, then pulse again until the mixture resembles small, coarse pebbles and begins to stick together. Be careful not to over-process; the crust should retain some texture rather than become a paste.
Step 5
Generously grease a 7½- to 9-inch springform pan with butter. Transfer crust mixture to the pan and use the back of a spoon or fingertips to press firmly and evenly across the bottom and up the sides. Make sure the crust is tightly packed so it holds together when sliced.
Step 6
Pour filling into the prepared crust and gently shake the pan back and forth to create a smooth, even surface. Bake for 40 minutes. The cheesecake should still have a slight jiggle in the center. Turn off oven, leave the door partially open, and allow cheesecake to cool inside for 1 hour. This gradual cooling helps prevent cracks from forming on the surface.
Step 7
Remove cheesecake from oven and allow to cool completely to room temperature. Transfer to refrigerator and chill for at least 4 hours, preferably overnight, until fully set and firm enough to slice.
Step 8
Once cheesecake is fully chilled, carefully remove from the springform pan and transfer to a cake stand or serving plate. Set aside in the refrigerator while preparing the toppings. Combine all cinnamon whipped cream ingredients in the bowl of a stand mixer fitted with the whisk attachment. Beat on medium-high speed for about 1 minute, or until soft, fluffy peaks form. Be careful not to overwhip, or the cream may turn into butter.
Step 9
Combine caramel ingredients in a small saucepan and bring to a gentle simmer, stirring frequently to prevent burning. Once slightly thickened, remove from heat and allow to cool until warm but still pourable.
Step 10
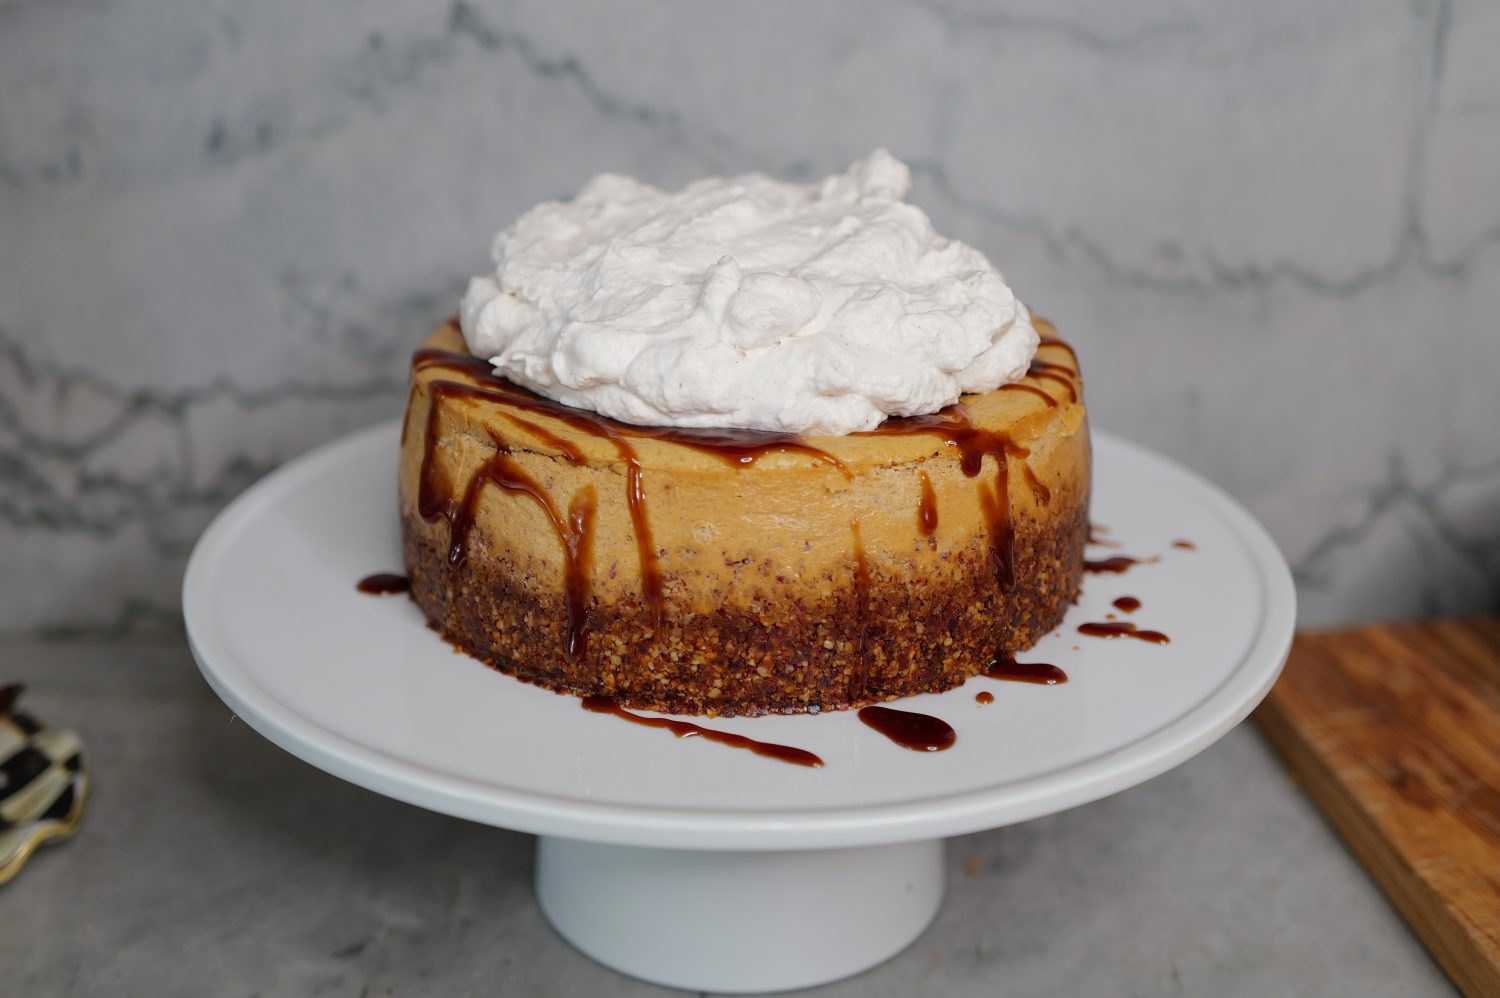
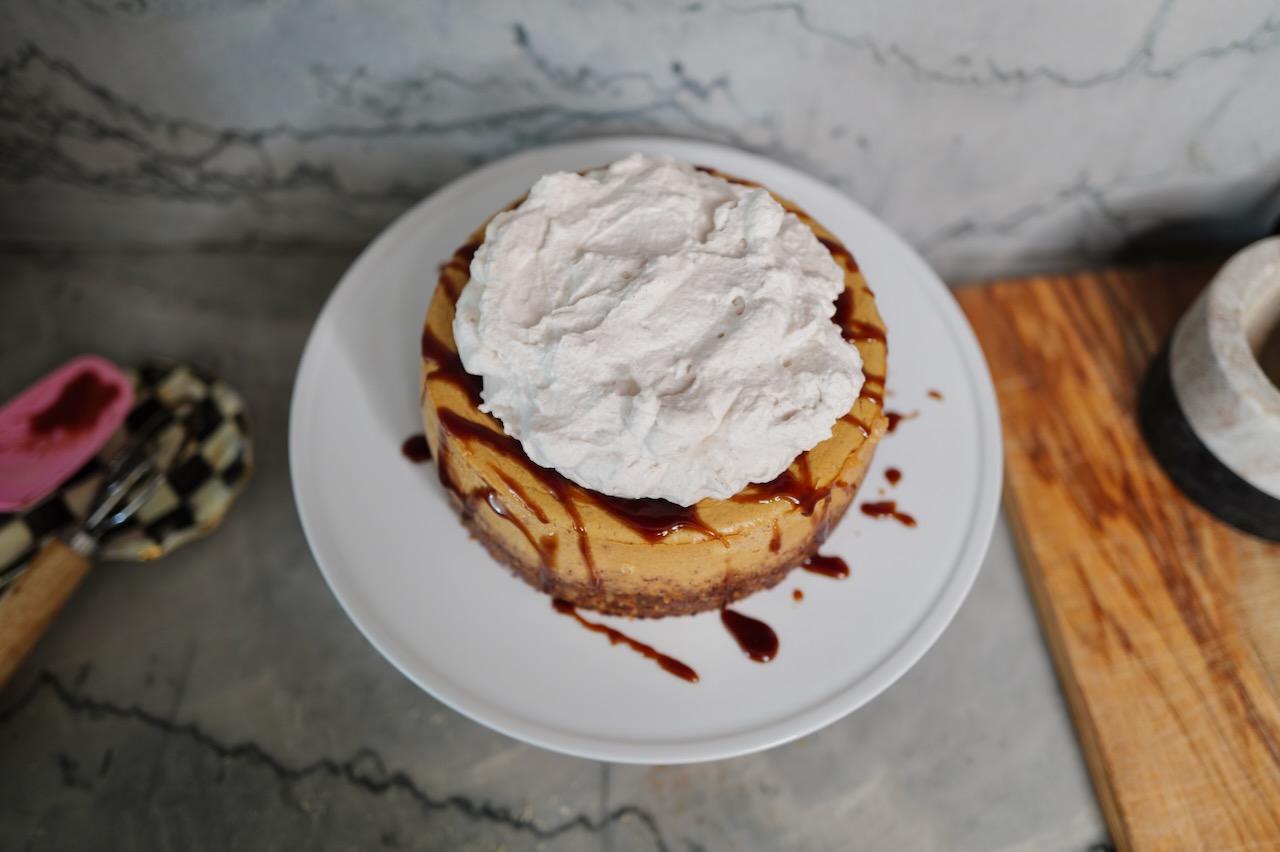
Drizzle caramel over cheesecake, then generously spoon cinnamon whipped cream on top. Serve immediately or refrigerate until ready to enjoy!
Tip
Don’t have a springform pan? Use a regular cake pan or pie dish lined with parchment paper, leaving enough overhang to lift the cheesecake out once fully chilled. Follow the recipe as directed, then carefully lift the cheesecake out using the parchment paper.




Notes
Read our recipe notes below (4)