
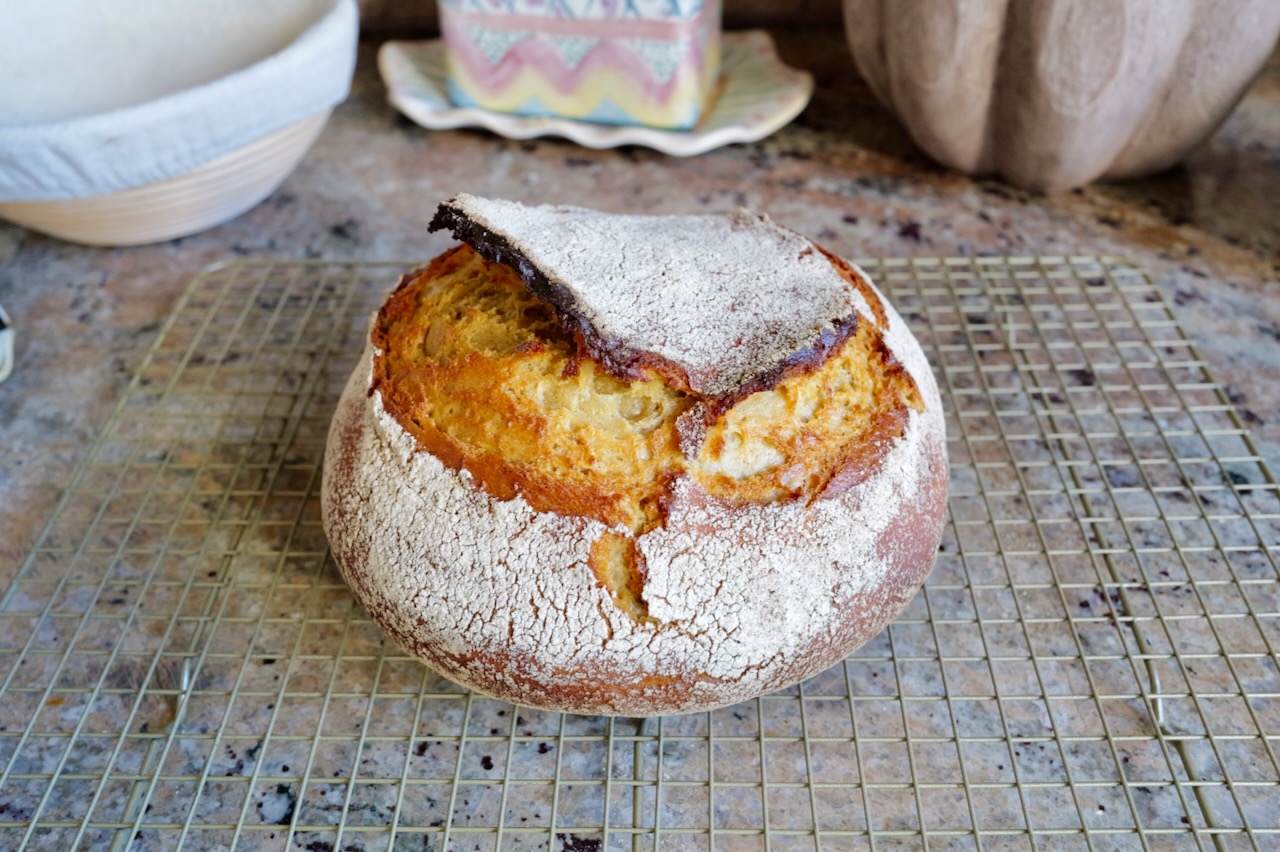
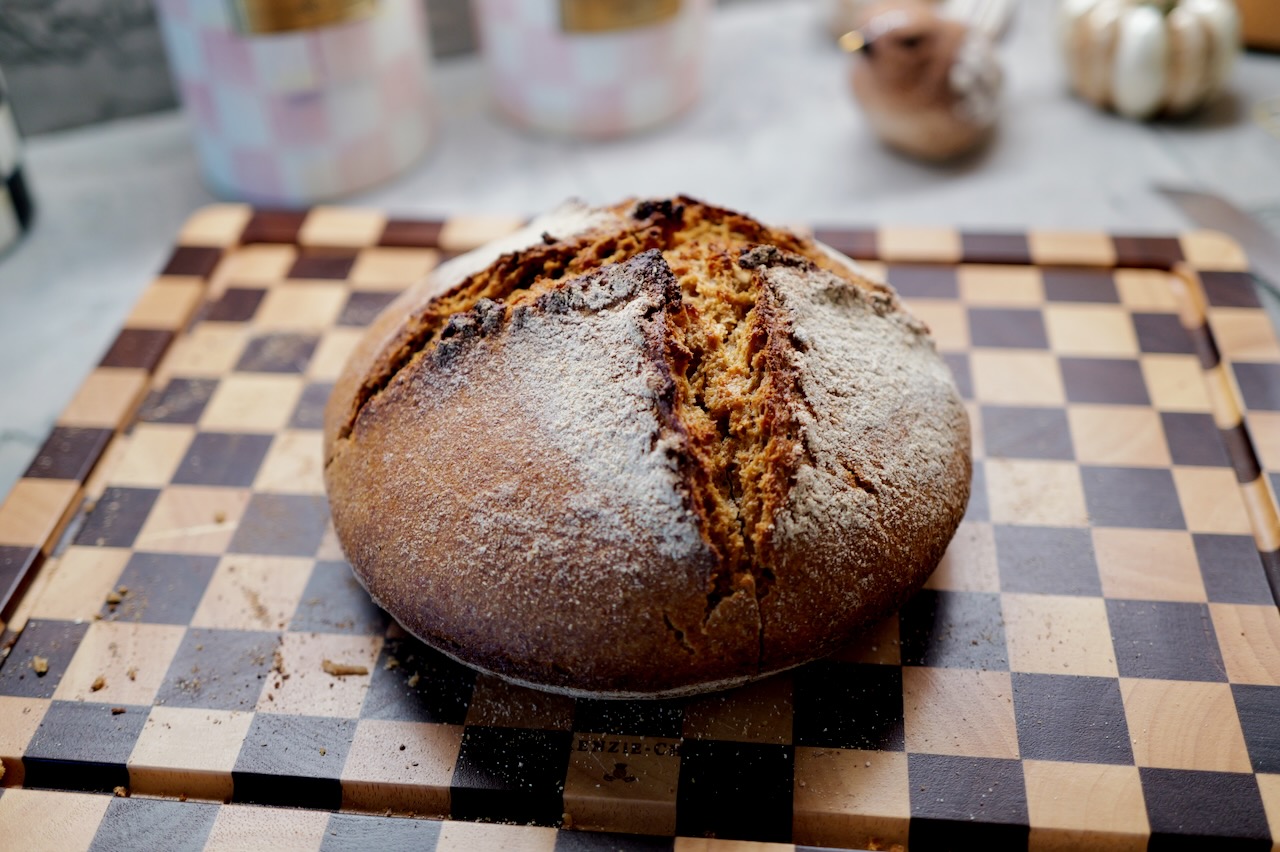
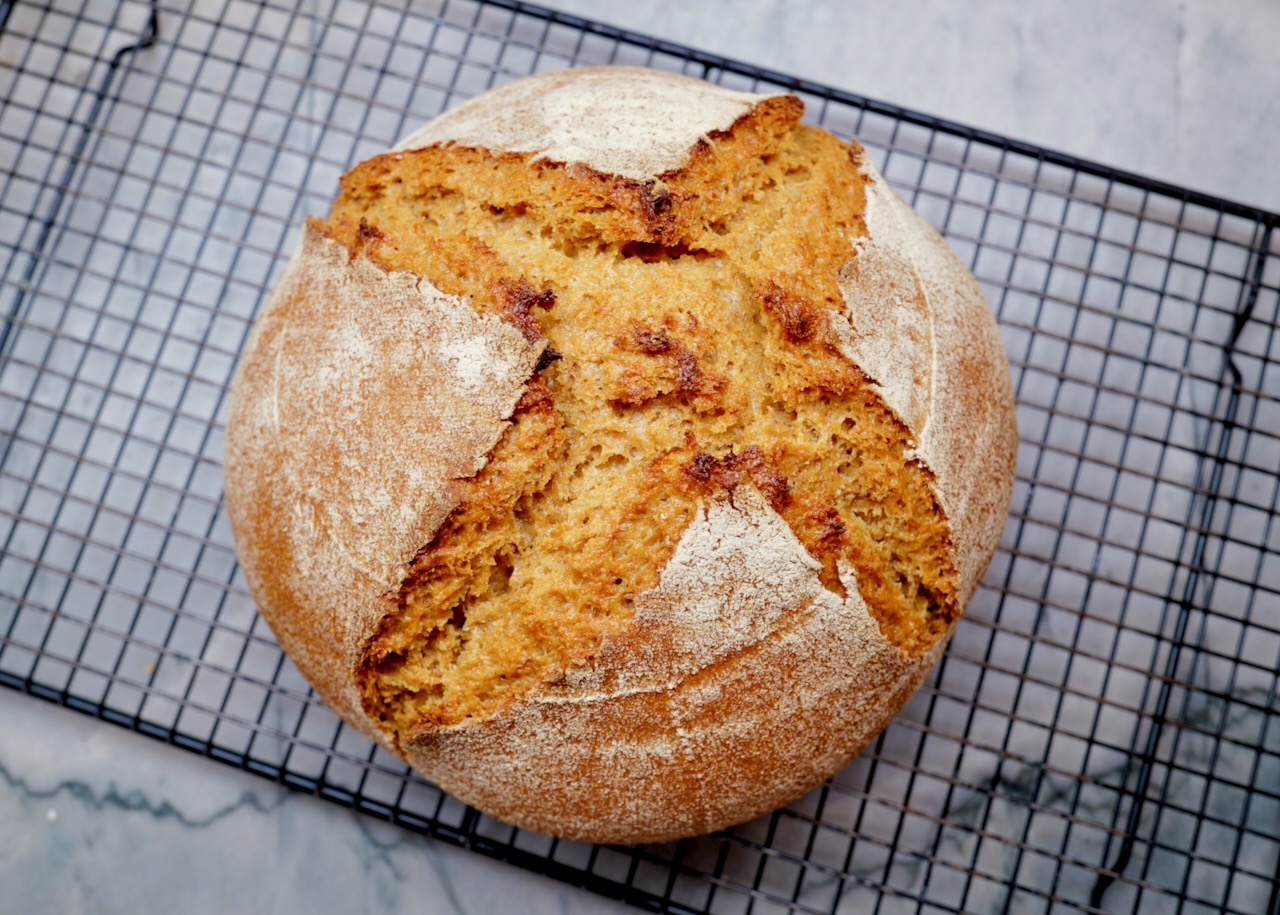
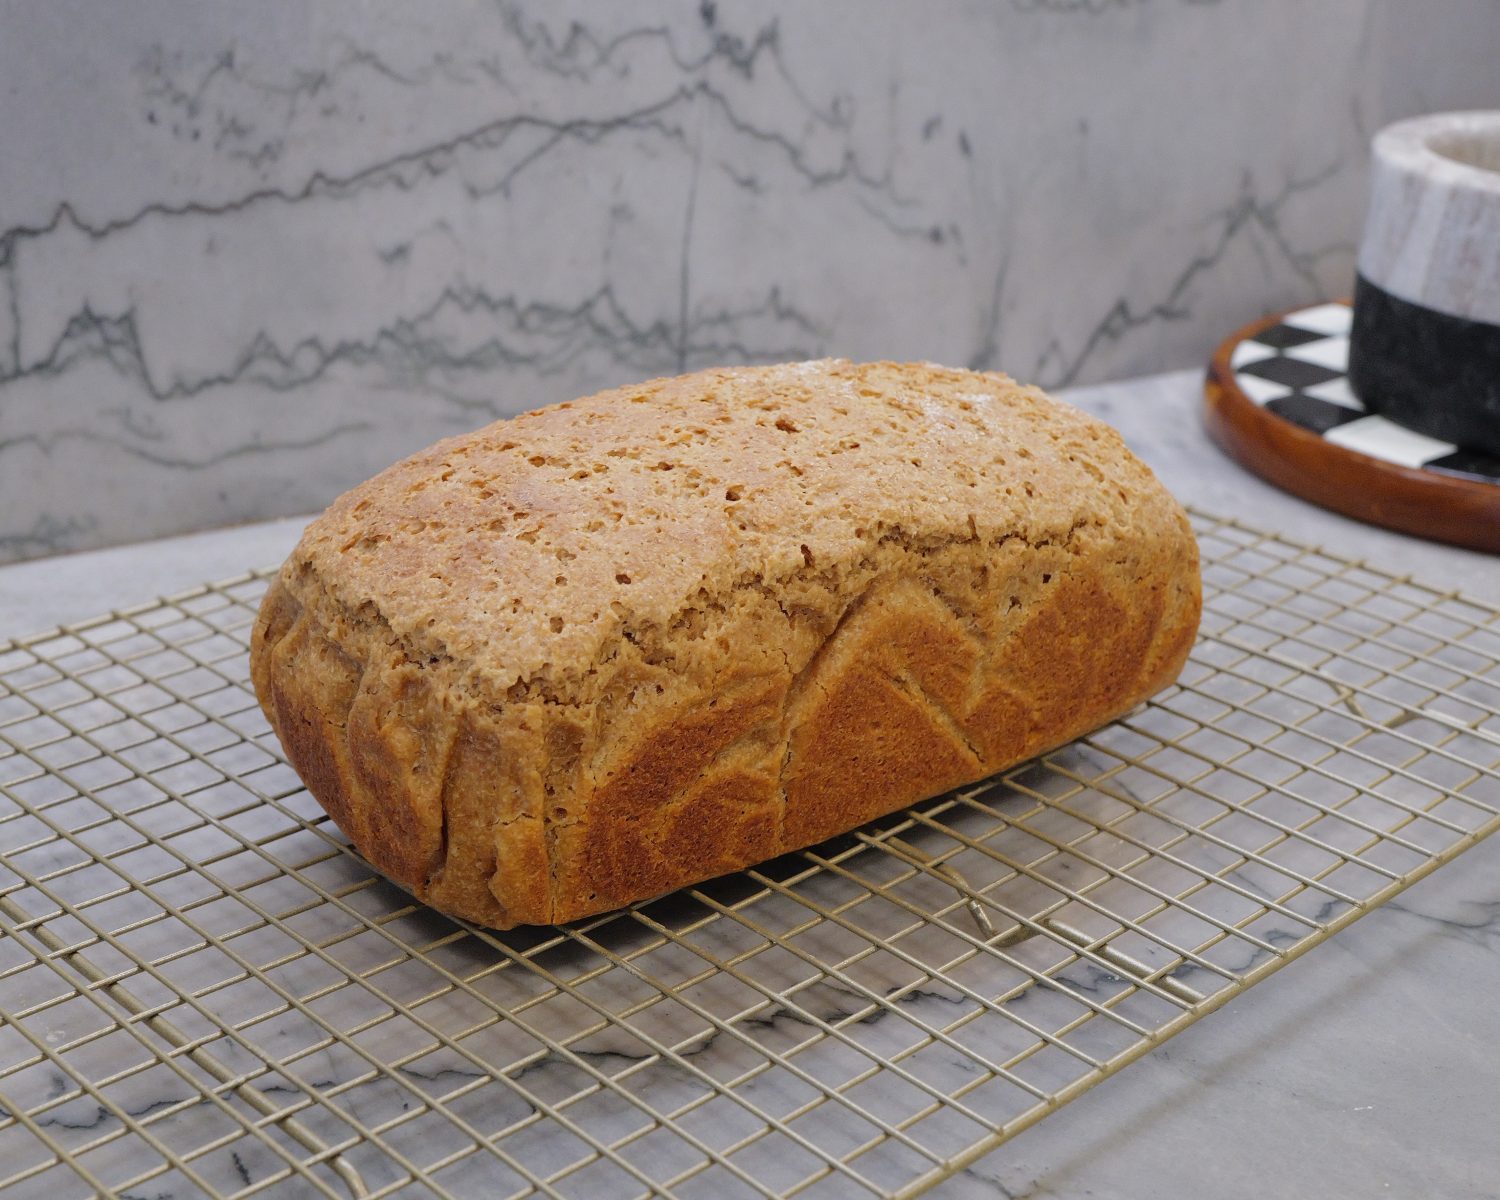
This all-purpose einkorn sourdough bread recipe is simple to make and bakes into a beautiful round loaf “boule” with a crunchy golden crust, soft crumb, and delicate buttery flavor. Made with all-purpose einkorn flour, this sourdough bread has a lighter texture than its whole-grain, fresh-milled einkorn sourdough bread counterpart while still offering the wonderful flavor of ancient einkorn wheat. Nothing compares to the irresistible aroma of freshly baked sourdough bread filling your home!
This all-purpose einkorn sourdough bread recipe is simple to make and bakes into a beautiful round loaf “boule” with a crunchy golden crust, soft crumb, and delicate buttery flavor. Made with all-purpose einkorn flour, this sourdough bread has a lighter texture than its whole-grain, fresh-milled einkorn sourdough bread counterpart while still offering the wonderful flavor of ancient einkorn wheat. Nothing compares to the irresistible aroma of freshly baked sourdough bread filling your home!
In a large ceramic bowl mix active sourdough starter and water with a fork or Danish dough whisk until well integrated. Add the flour and salt, mixing until a sticky, shaggy dough forms. If any dry flour remains, lightly wet your hand and gently work it into the dough, shaping it into a rough ball. Cover the bowl with a towel and let the dough rest for 15 minutes.
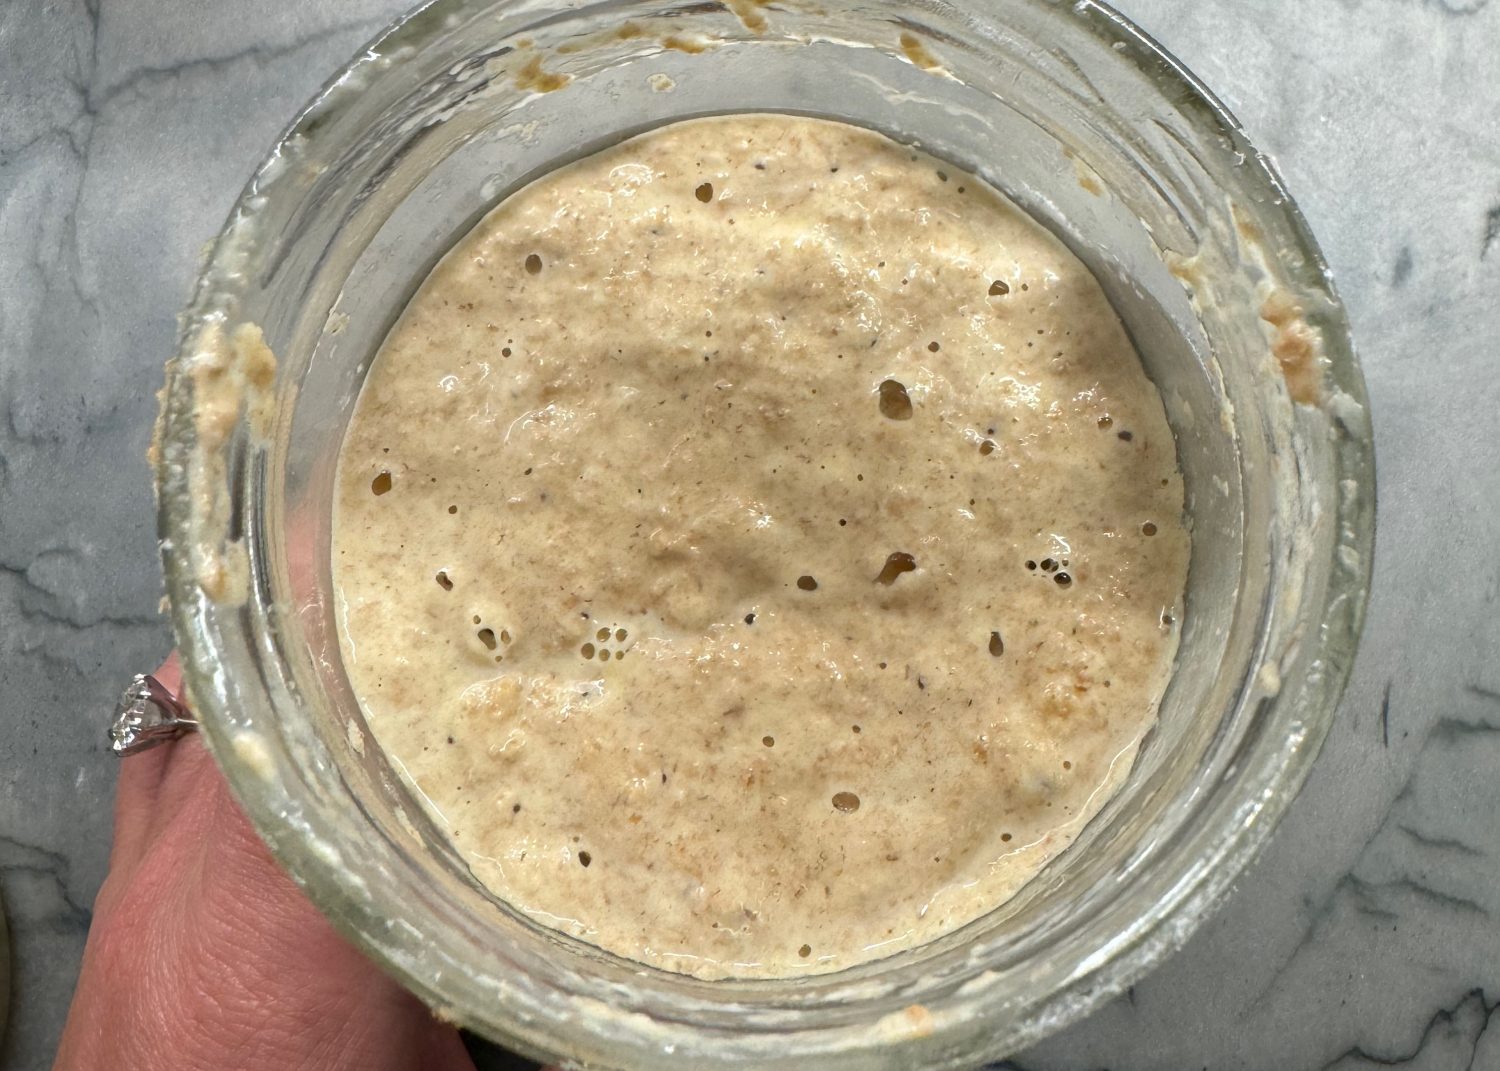
Wet your hand, then gently lift one edge of the dough, stretch it upward, and fold it into the center. Repeat around the dough until all sides have been stretched and folded. Cover with a towel and let rest for 15 minutes. Repeat this process 2 more times. After the third round of stretch and folds, cover the bowl with a towel and allow the dough to ferment at room temperature overnight, approximately 8–10 hours. The dough should become puffy, with visible bubbles on the surface.
Generously flour a banneton proofing basket to prevent sticking. Lightly flour your work surface, then use a dough scraper to gently transfer the fermented dough from the bowl. The dough will be sticky, so dust your hands with flour as needed.
Gently stretch the dough into a long rectangle. Begin shaping by folding each corner into the center, followed by the edges between the corners, until a rough ball forms. Flip the dough over so the smooth side faces up, using your dough scraper if needed.
With lightly floured hands, gently pull the dough toward you across the work surface, allowing the bottom to grip slightly. Rotate and repeat several times to create surface tension, tighten the round shape, and seal the seam underneath. Be gentle to preserve the air bubbles formed during fermentation.
Gently flip the shaped dough into the floured banneton, seam side up. Using your fingertips, pinch any loose edges of the seam together to seal and tighten the dough. Lightly dust the top and edges with flour, then cover loosely with a towel. Allow the dough to proof at room temperature for 90 minutes to 2 hours, until slightly puffed and airy.
About 80–90 minutes into proofing, place a round Dutch oven with its lid on into the oven. Preheat to 500°F and allow the Dutch oven to heat for 30–45 minutes.
When ready to bake the bread, carefully remove the hot Dutch oven and place it on a heat-safe surface. Remove the lid, then gently turn the dough out of the banneton into the Dutch oven, seam side down. Give the pot a gentle shake (wearing oven mitts) to center the dough. Replace the lid, reduce the oven temperature to 450°F, and bake covered for 30 minutes. Remove the lid and continue to bake for another 10 minutes. The bread should be a nice golden color.
Carefully remove the Dutch oven from the oven and transfer the bread to a cooling rack, using oven mitts. Allow the bread to cool completely, at least 2 hours, before slicing. The crumb continues to set as the bread cools, so cutting into it too soon can result in a gummy texture.
I store my sourdough bread at room temperature, wrapped in a clean dishcloth to allow it to breathe. It keeps well for quite a while and won’t mold! If the bread becomes firm, a quick toast brings it right back to life! For longer storage, slice and freeze.

Already a member? Login here
Full recipes, step-by-step instructions, prep timeline, and shopping list.
Already a member? Login here





Notes
Read our recipe notes below (0)