
As a college student, you’re constantly attending football games and other school activities and want to have school spirit, but still have a lot of style too! Worry not, my child, here is a tutorial on how to make a fringe tassel tee with a trendy off-the-shoulder. Add school spirit and at the same time stand out in the crowd with our DIY fringe tassel t-shirt.
The fringe t-shirt is very trendy in Southern California and uber popular amongst festival goers at summer festivals like Coachella and Burning Man.
This DIY fringe tee is a great way to transform an ordinary t-shirt into a hip t-shirt and it’s super duper easy for any DIYer. Turn any logo t-shirt that’s not too flattering and turn it into a shirt that you’re proud to wear all summer long. Just pair with a pair of DIY jean short cut-offs and have fun!
DIY: How To Make A Fringe Tassel Tee
~ this tutorial is for an off-the-shoulder tee ~

T-shirt DIY: How To Make A Fringe Tassel Tee
Materials:
- A logo T-SHIRT (size down if you are working with a men’s t-shirt)
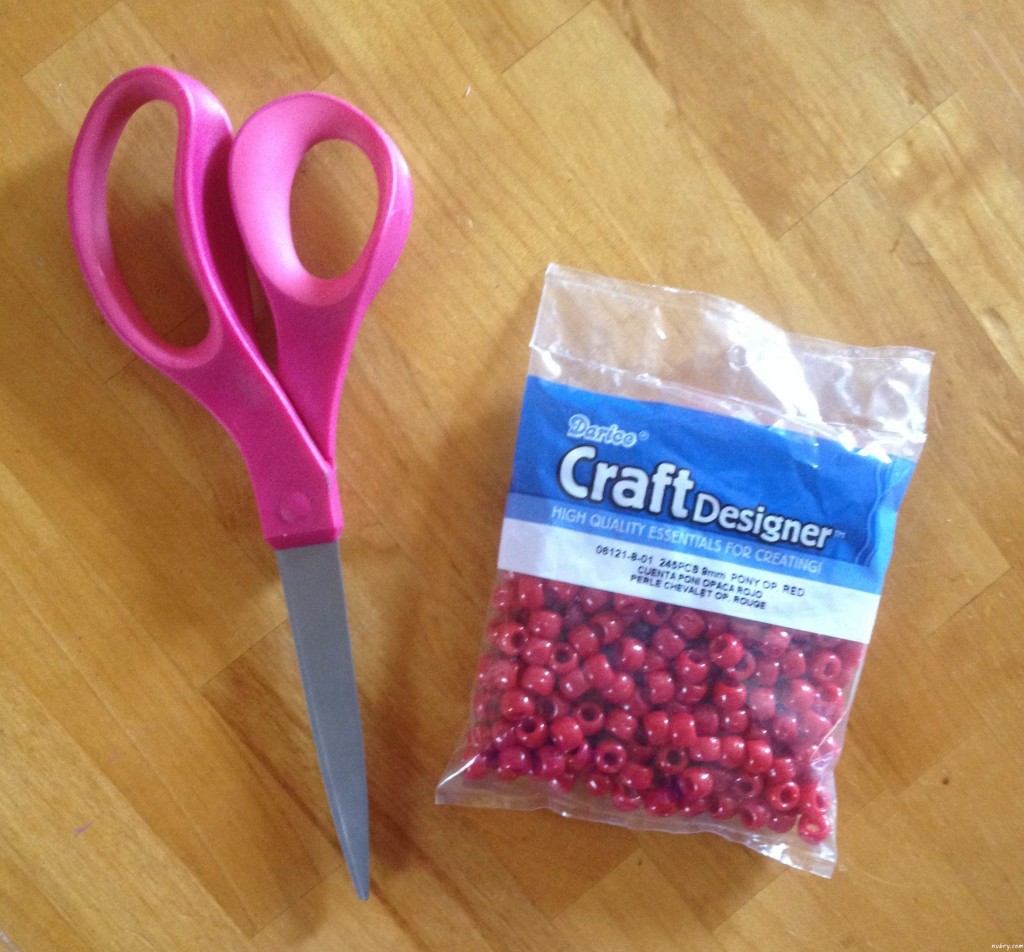
- Scissors
- Chalk (optional)
- Arts and crafts beads (optional)
Directions:
But First – Here’s How To Make The Off-Shoulder
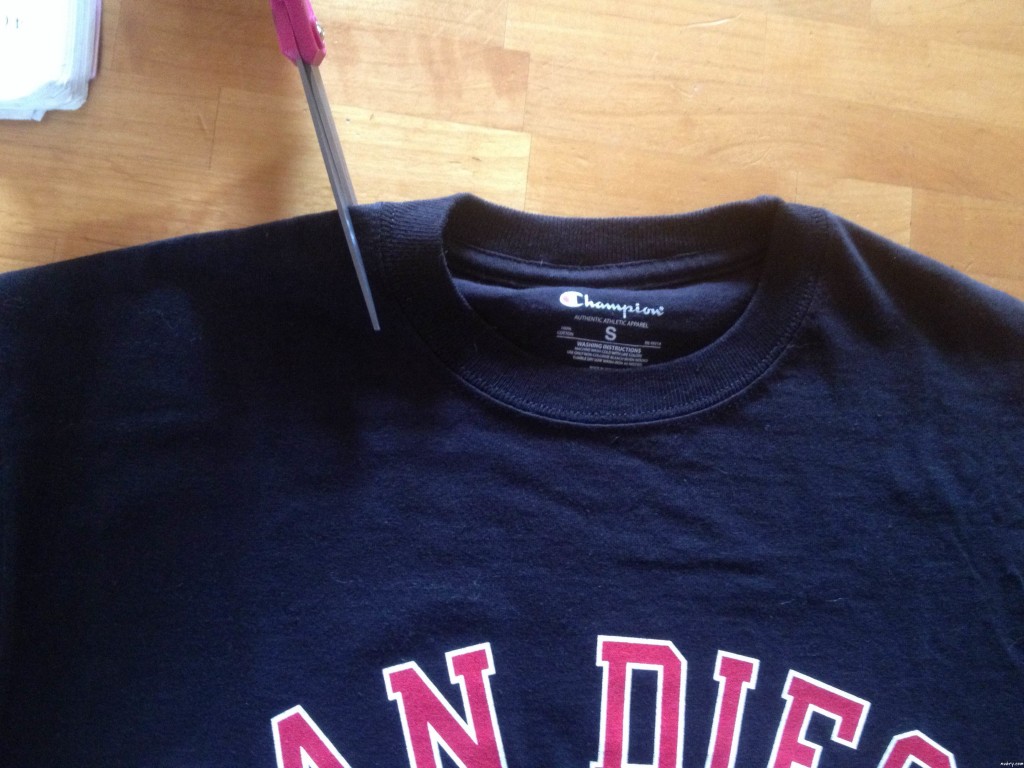
Step 1. Lay the shirt out on a flat surface. Choose which side of the shirt will fall off your shoulder.
Step 2. On the OPPOSITE side, begin cutting right next to the collar
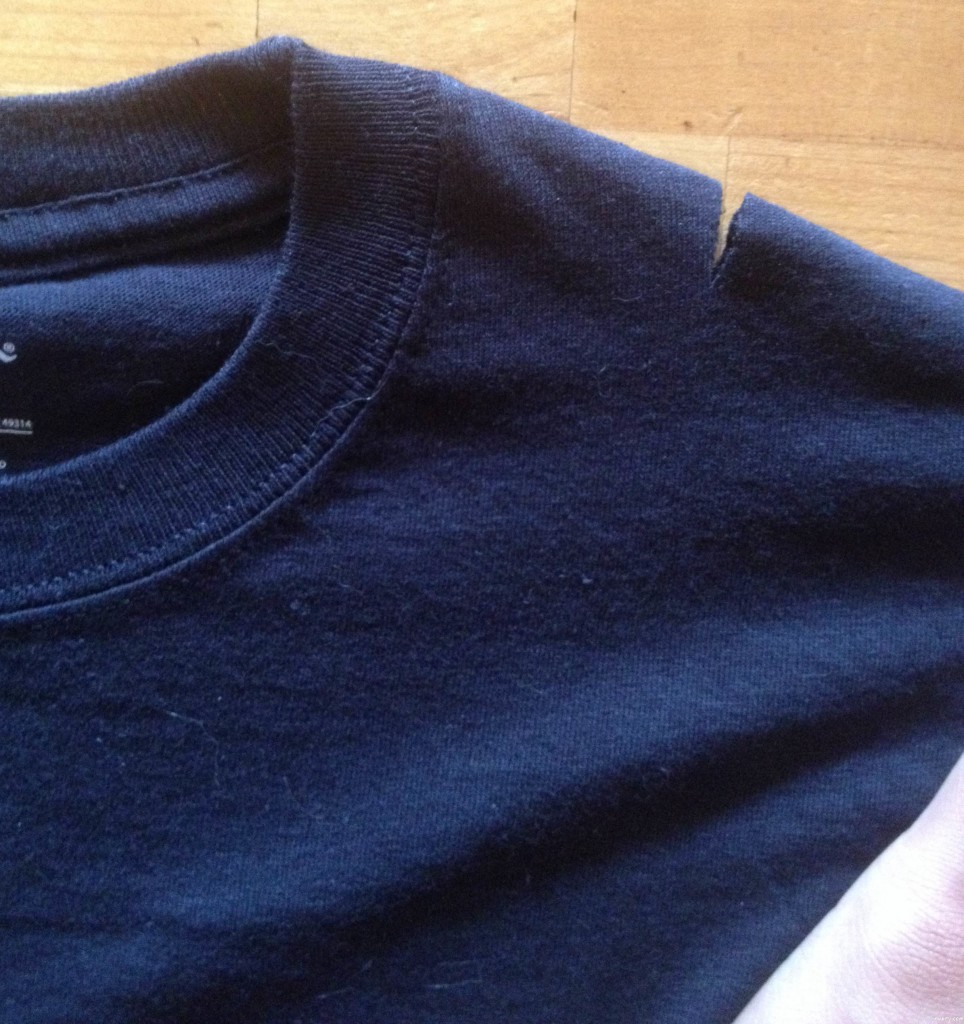
Step 3. Continue to cut alone the collar, gradually cutting closer to the sleeve. Before cutting you can make a small incision about 1 ½” – 2” from the collar as an end point. You can also use the chalk to draw a dotted line from one side to the other to be extra sure of your line.
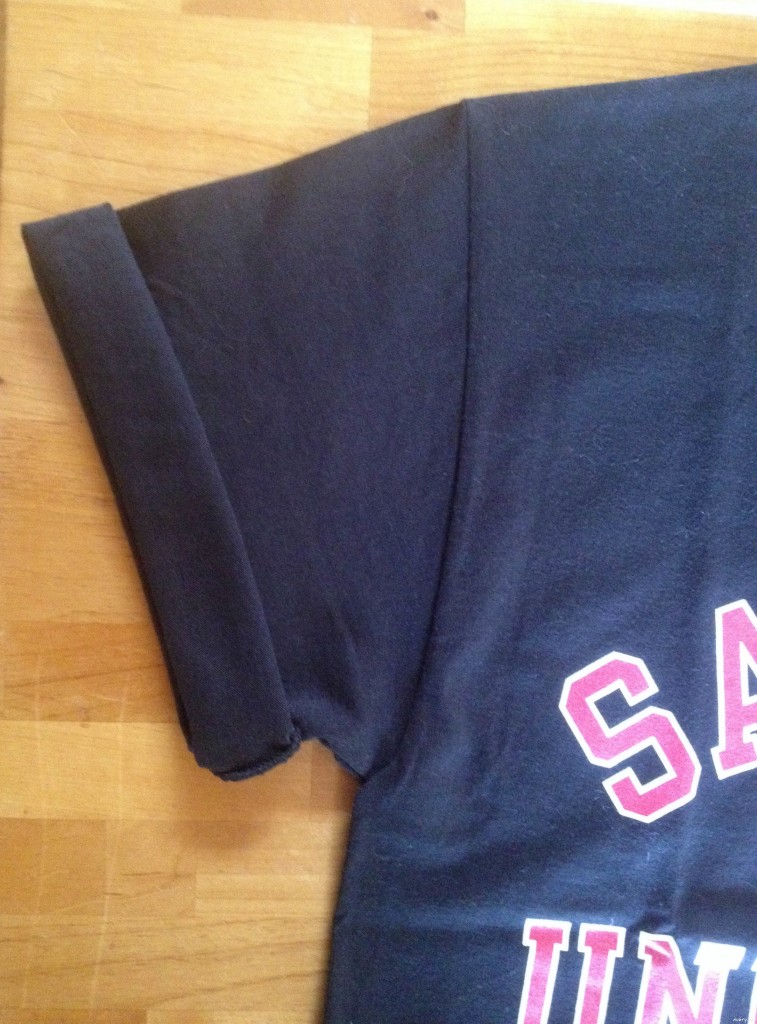
Step 4. You can also trim an inch or so off the end of each sleeve or you can just roll them.
[show_shopthepost_widget id=”2696779″]
Next: Here’s How To Make The Tassels
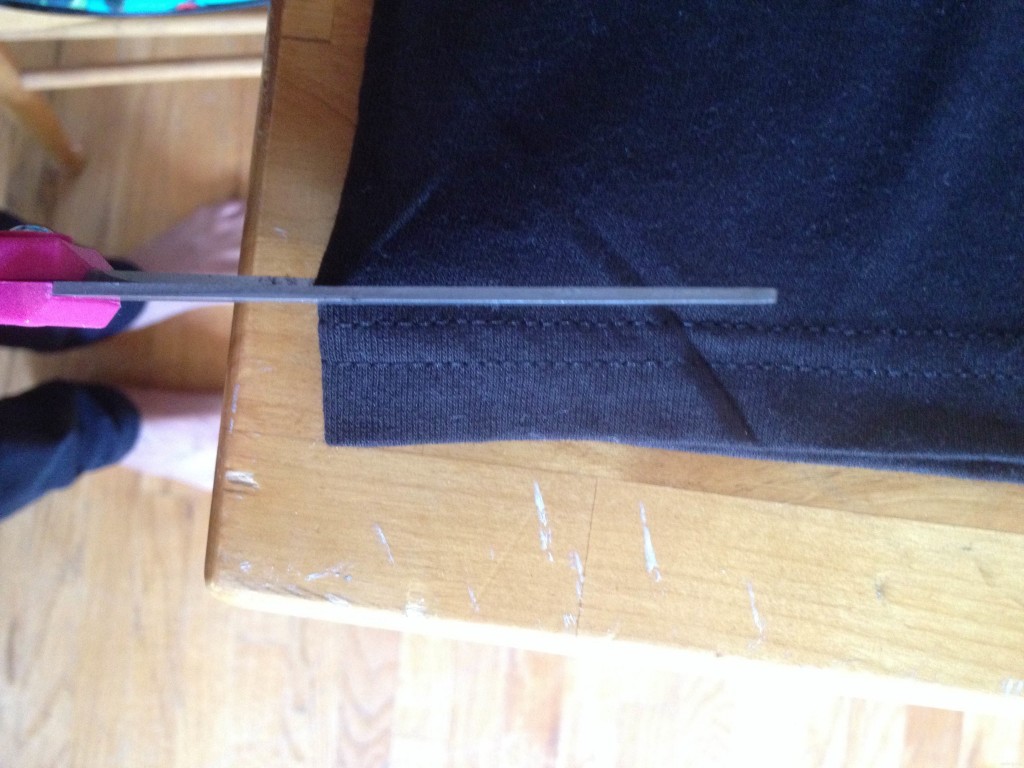
Step 1. Begin by cutting along the seam at the bottom of your shirt
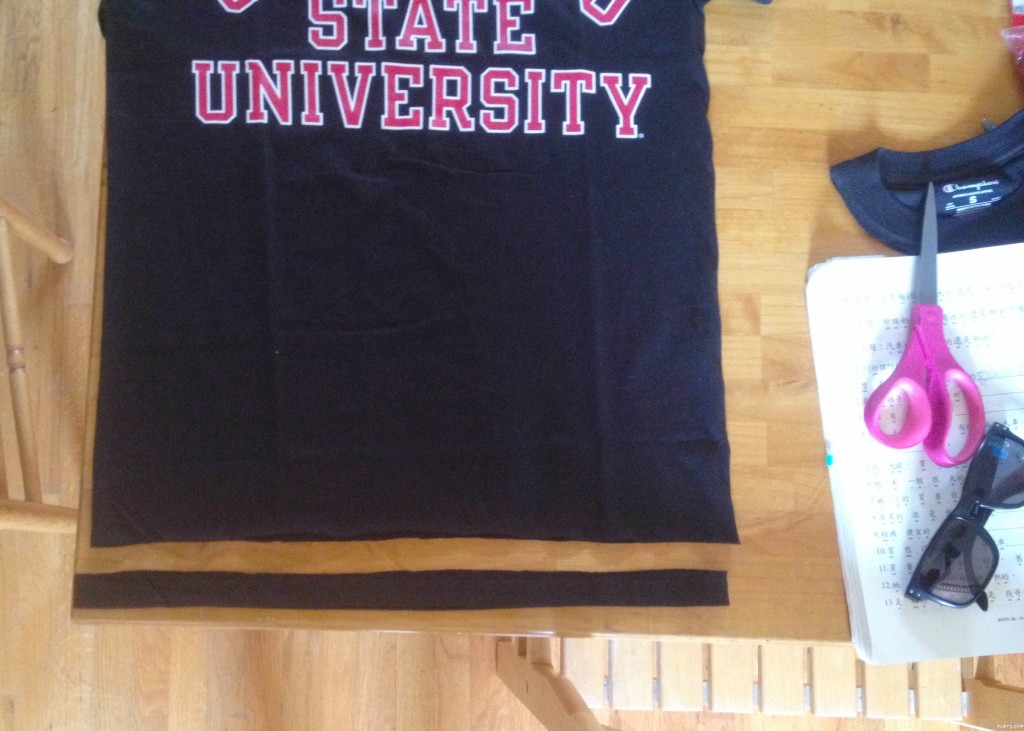
Step 2. Next, you may want to try the shirt on and use the chalk to mark how high you want your tassels to be cut
Step 3. Start from one side of your shirt and cut AN EVEN NUMBER of lines to the marked places about an inch apart (or however wide you want each tassel). You can cut both the front and back of the shirt simultaneously.

Step 4. Stretch out each tassel to make it skinnier and a little flimsier.
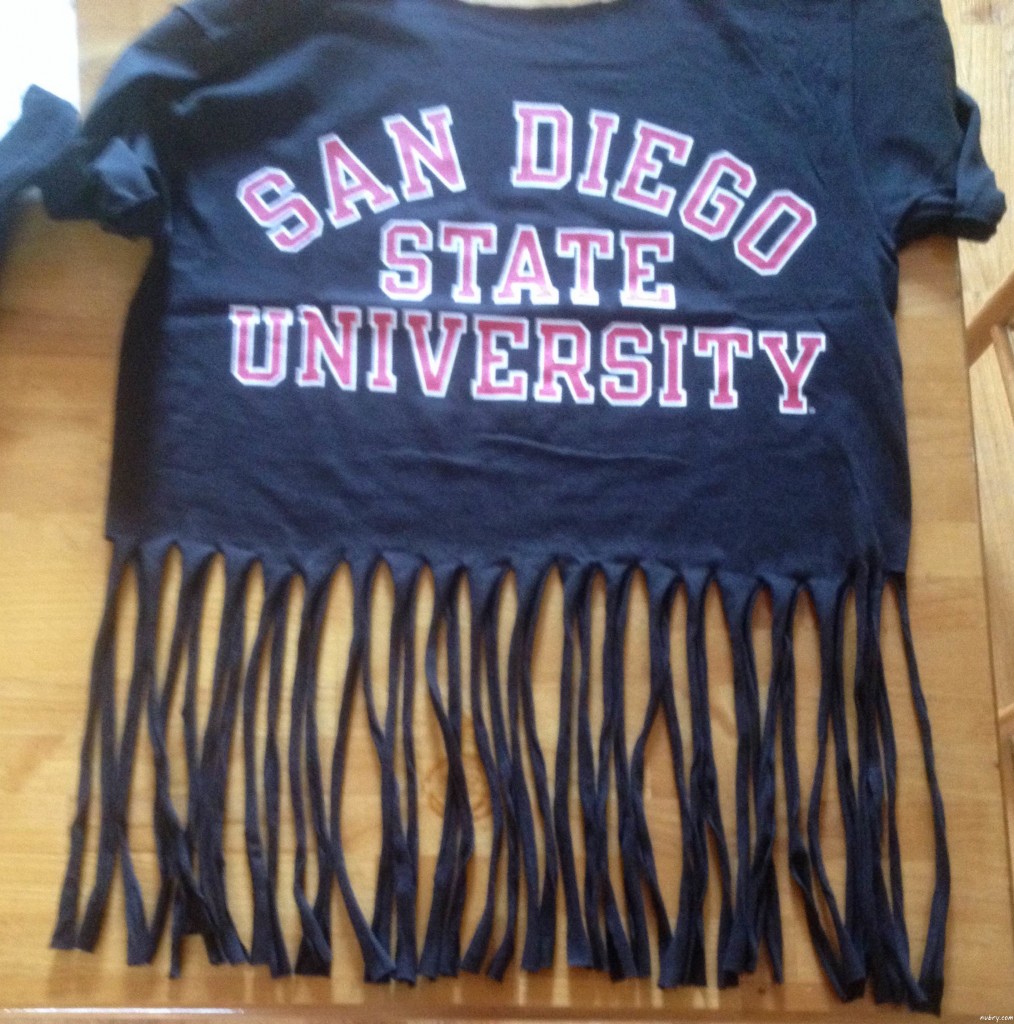
Step 5. Tie a knot between two tassels that are next to each other (NOT front and back) leaving about an inch of space.

Step 6. Make a second row of knots by grabbing the left string from one knot, and the right of another, and tying those together.
Optional: knot in a bead at each layer.
[show_shopthepost_widget id=”2696779″]
Finished! Now throw on your favorite pair of high-waisted jean shorts or skinny jeans and rock your new tassle t-shirt proudly!
Leave a Reply